
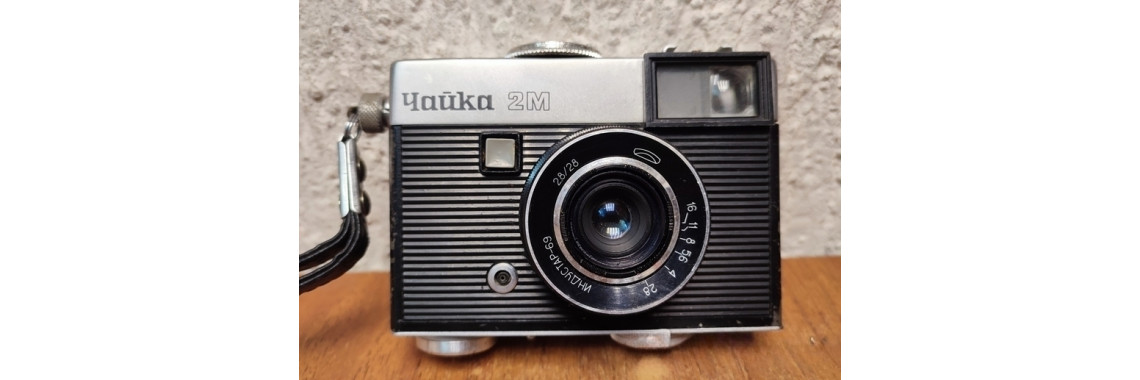
The Chaika-2M Half-Frame Camera: Freeing a Jammed Behind-the-Lens Shutter
"A shutter is a clock that runs for a fraction of a second. Treat its levers and springs with the same respect you would give a going train, and it will keep honest time."
— Notes from the repair bench
People who collect things are a curious breed. The objects vary without limit, from matchbox labels to pocketknives, lighters, and wristwatches, yet the reaction to a new find is always the same: a quiet, almost childlike satisfaction. A friend of mine follows that pattern with cameras and lenses. Show him a body or an optic missing from his shelves and his attention sharpens at once. This time he arrived with a small camera in hand and a simple question: he had found it, it did not work, and could anything be done? A request like that from a decent young man is not easily refused.
Anyone old enough to remember the years of roll film will recall how welcome a half-frame camera was to a beginner, particularly a schoolchild enrolled in a photography club. The real beneficiaries, admittedly, were the parents. Splitting the standard 24×36 mm frame in two produced seventy-two exposures from a cassette rated for thirty-six, which halved the cost of film and processing. With respectable optics and a fine-grain developer, enlargements of 9×12 cm and even 10×15 cm came out perfectly acceptable, and for a family album that was all anyone required. I owned one of these little cameras myself and carried it on hiking trips, so this repair stirred some old memories. What follows is a full account of what was wrong with this example and how it was put right.
A note on the name. The camera was called Chaika, Russian for seagull, after the radio call sign used by Valentina Tereshkova, the first woman to fly in space.
The Chaika Line and the Place of the 2M
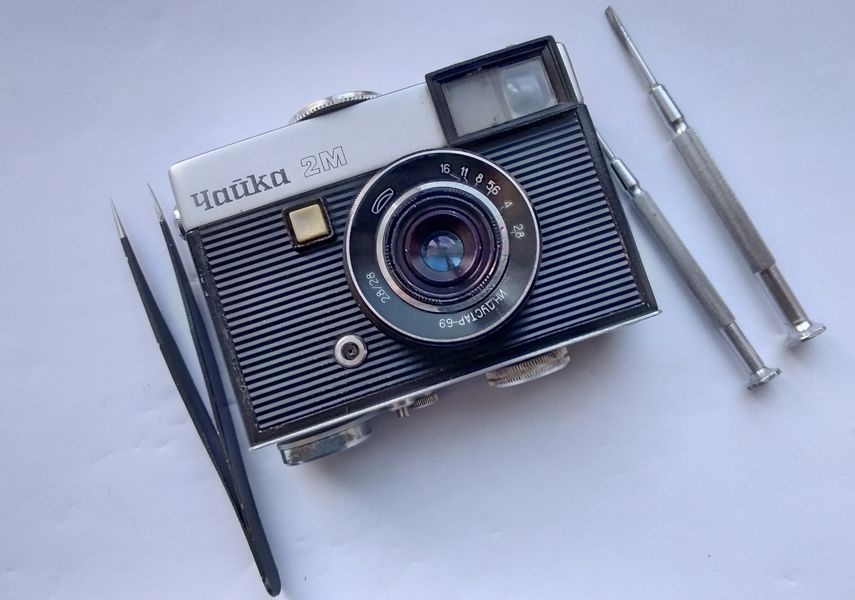
The camera on the bench is a Chaika-2M, one of the last variants in the series. The Chaika family as a whole was sound, and the earliest, unmodified cameras with their all-metal construction were the best of it. Later production fell victim to the Soviet habit of manufacturing rationalization. The front of the camera was redesigned as a flat plastic panel, and while the main body remained metal, that panel was simply glued to it. The change made the camera cheaper and quicker to build, but it cost the design a measurable share of its durability, and that weakness turns out to be the root of the present fault.
The 2M was succeeded by the Chaika-3, which added an exposure meter but otherwise retained the same construction. In terms of reliability and handling, however, the original Chaika and the Chaika-II remained the better cameras: a one-piece body and a metal shutter release with a tapered socket for a cable release. The 2M is encountered less often than its siblings, which makes it a reasonable subject for a detailed look. The high point of Soviet half-frame design was ultimately the automatic FED-Mikron, but that is a different camera and a different story.
External Survey
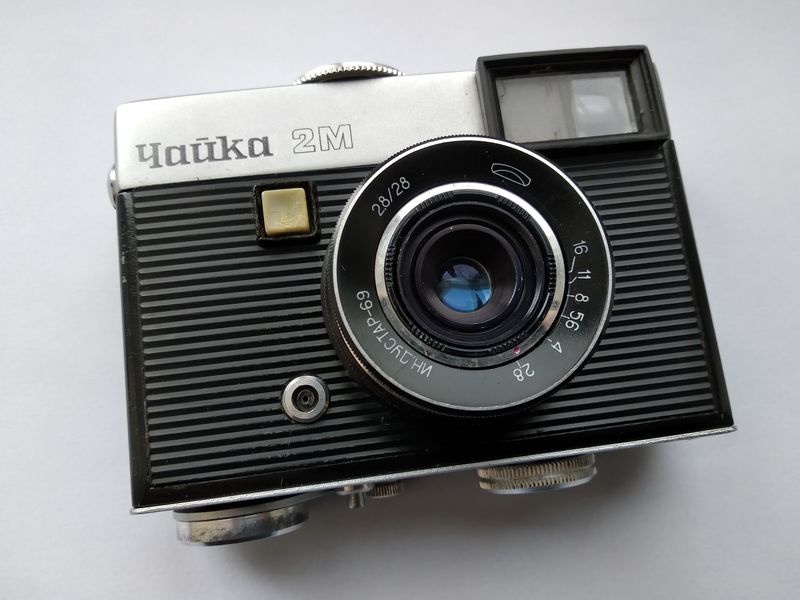
Before any screw is turned, the camera deserves a careful look from every side. The front carries the Industar-69, a 28 mm lens with a maximum aperture of f/2.8. Optically it is a conventional Tessar: four elements arranged in three groups, and its rendering is genuinely good for a camera of this class. Beside it sits a square shutter release button. The viewfinder shows a bright-line frame with parallax correction marks, and a flash synchronization contact is fitted on the front panel.
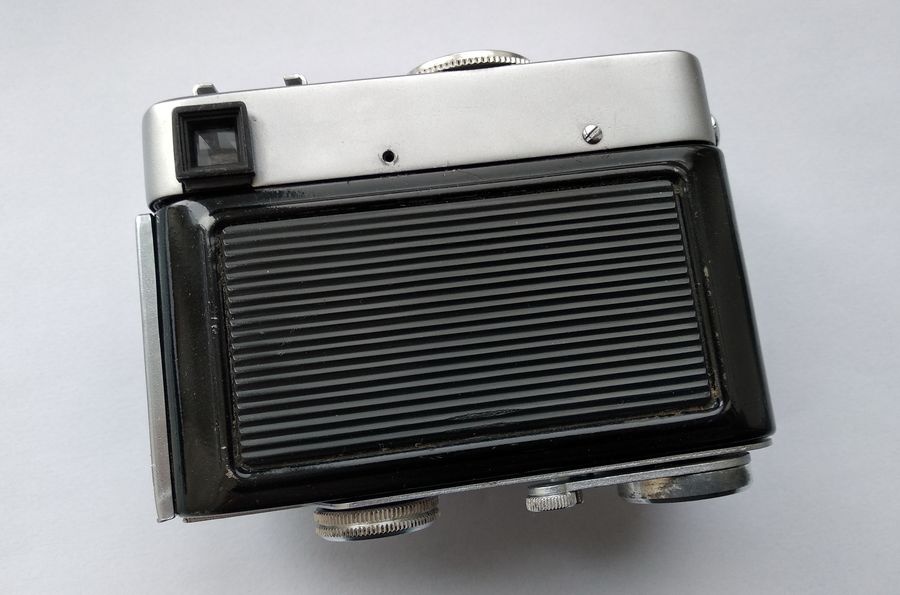
The rear holds no surprises: the viewfinder eyepiece and a hinged back door. The door is metal, with a textured plastic overlay bonded to its outer surface.
With the back open, the interior proves to be clean and free of corrosion or debris. One detail, however, stands out immediately: the shutter blades behind the lens are sitting open when they should be closed. That is the fault to be dealt with, and it will be traced in due course.
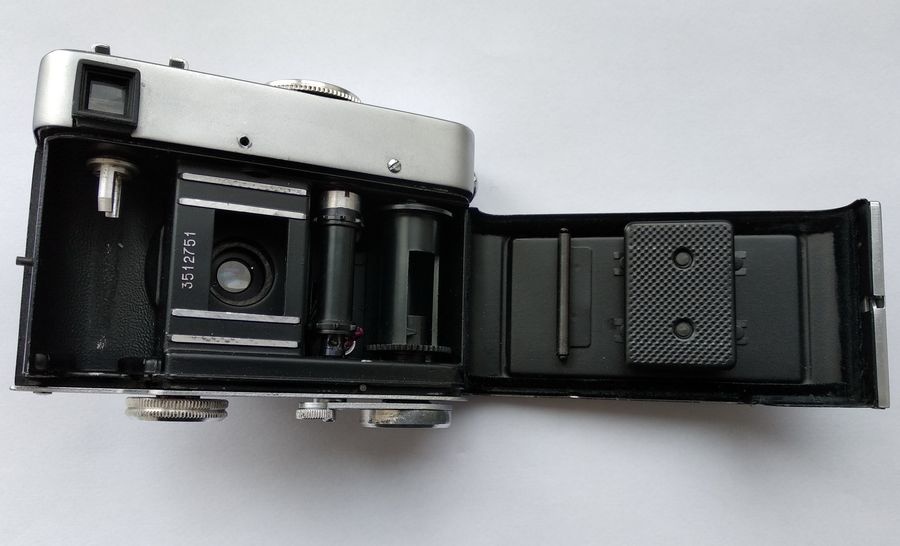
All the operating controls are on the base plate: the rewind crank, the button that disengages the advance mechanism for rewinding, the frame counter, and the trigger that both cocks the shutter and advances the film. The counter has an unusual habit worth noting. It registers only every second exposure, so its reading has to be doubled to give the true number of frames shot. With that, the general orientation is complete.
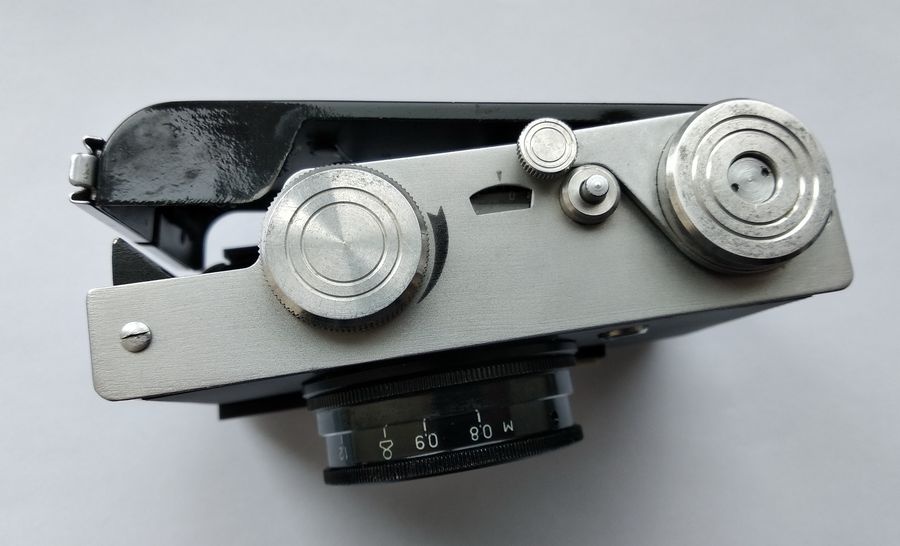
The M39 Mount and Its Unusual Flange Distance
One feature sets the Chaika-2M apart from the original Chaika. Its lens is removable, threaded into the body on the M39×1 standard, even though no interchangeable lenses were ever offered for the camera. The thread itself matches the FED and Zorki rangefinders, but the flange focal distance does not. On the Chaika it is 27.5 mm, against 28.8 mm on the Leica-pattern cameras. The consequence runs in one direction only. An M39×1 lens made for a Leica, FED, Zorki, or a screw-mount Zenit can, at least in principle, be fitted to the Chaika-2M, since the shorter register leaves room to set the lens forward. The Industar-69, by contrast, cannot be used on any descendant of Oskar Barnack's design: mounted on a 28.8 mm body it sits too far from the film to reach correct focus. The shutter design is equally unconventional, as the teardown will show.
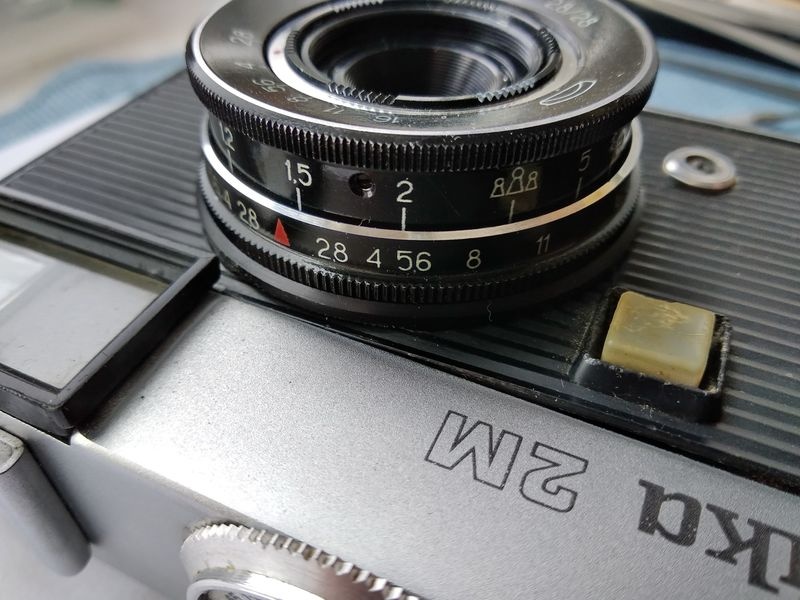
The first practical step is to remove the lens, which requires nothing more than unscrewing it from the mounting flange.
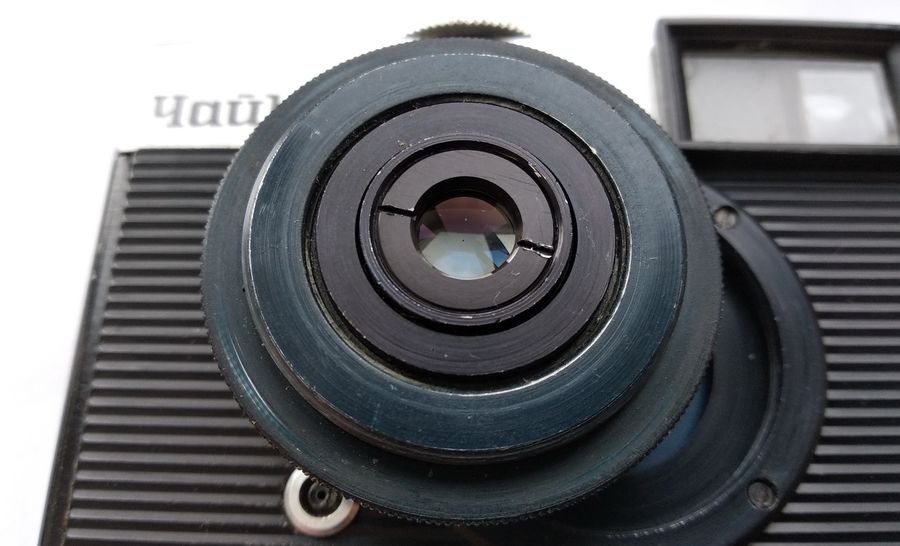
With the lens out, the problem is in plain view. The blades stand open, the shutter ignores the release button entirely, and, as expected, it cannot be cocked.
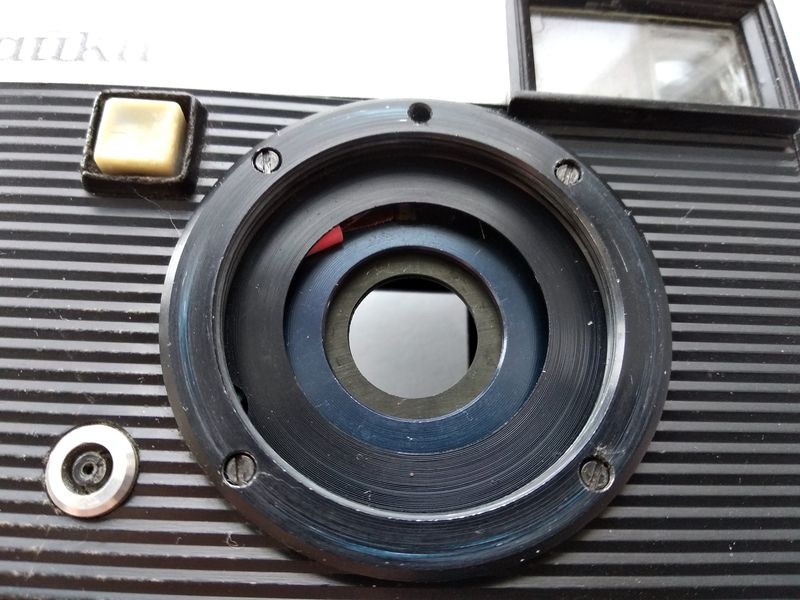
Behind the Flange: A Two-Part Shutter
The next move is to take off the mounting flange and see what lies beneath it. Four screws hold it, and it lifts away cleanly.
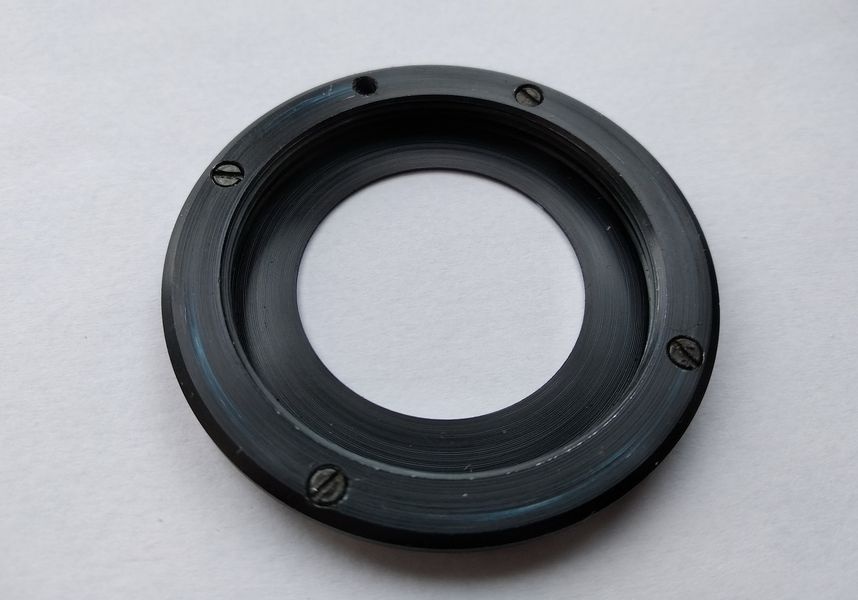
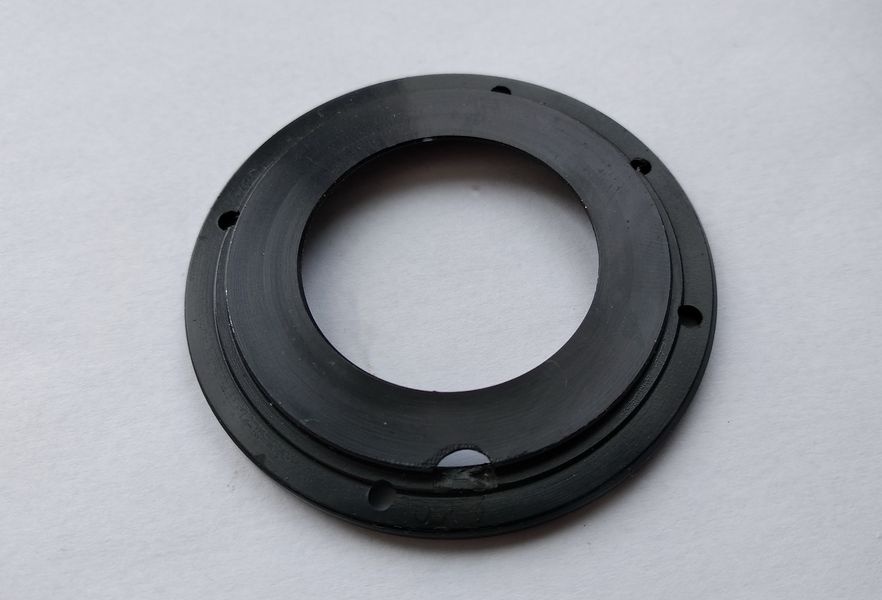
Turned over, the flange shows no shims of any kind between it and the body. That is good news: the factory did not need to correct the lens-to-film distance with spacers, so there is no shim stack to record and no risk of disturbing the focus calibration on reassembly.
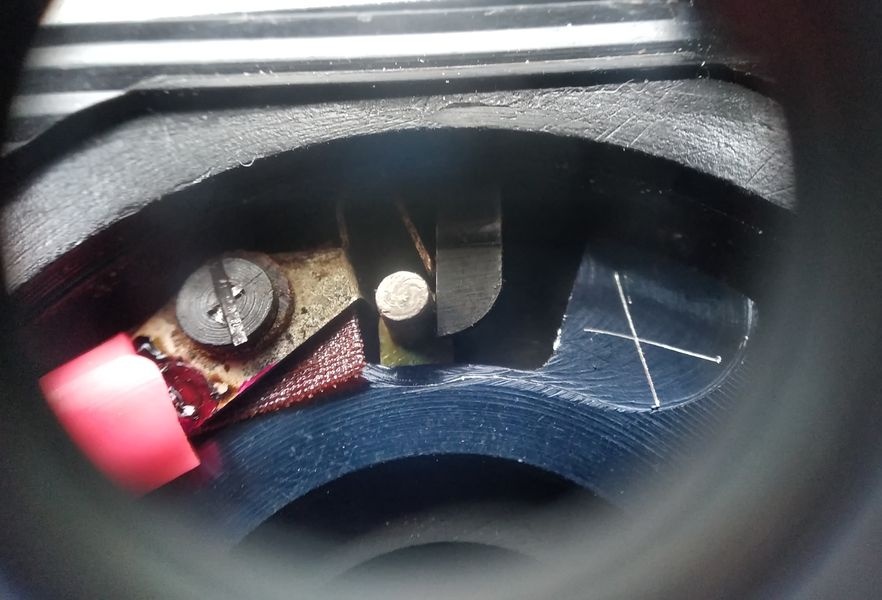
Beneath the flange are the blade driver and the lever that transmits motion to it from the speed-governing mechanism. The design here is genuinely unusual. In most leaf shutters, the blades, the retarding train, and the cocking mechanism are all built on a single plate, and the shutter usually sits between the lens elements. The Chaika uses a behind-the-lens arrangement instead, with the blade assembly and the speed mechanism built as two entirely separate units connected by a lever. Seen through a loupe, the cause of the trouble is clear: the blade control lever is wedged in the open position. Whatever has gone wrong lies in the speed mechanism, and that means removing the top cover.
Removing the Top Cover
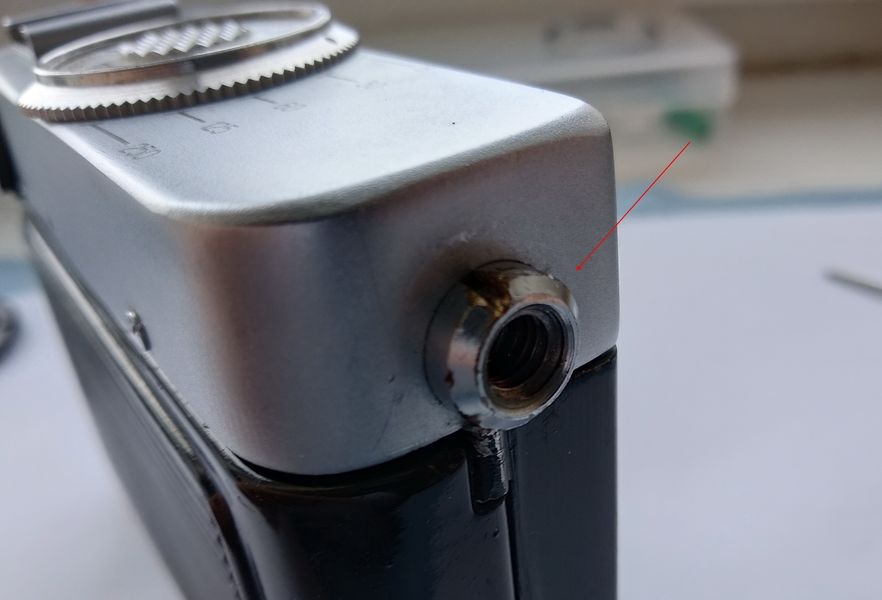
The top cover is released in three stages. The first is to unscrew the tripod socket bushing on the end of the body, which also serves as the anchor point for the wrist strap.
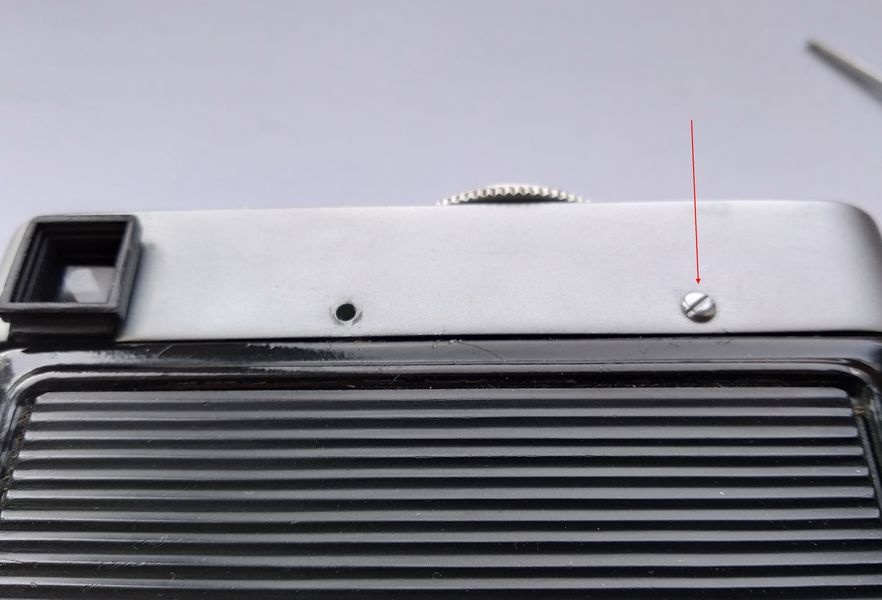
Next come two screws on the rear edge of the cover. In this case only one was present; its partner had gone missing at some point in the camera's life, and a replacement will be sourced at reassembly.
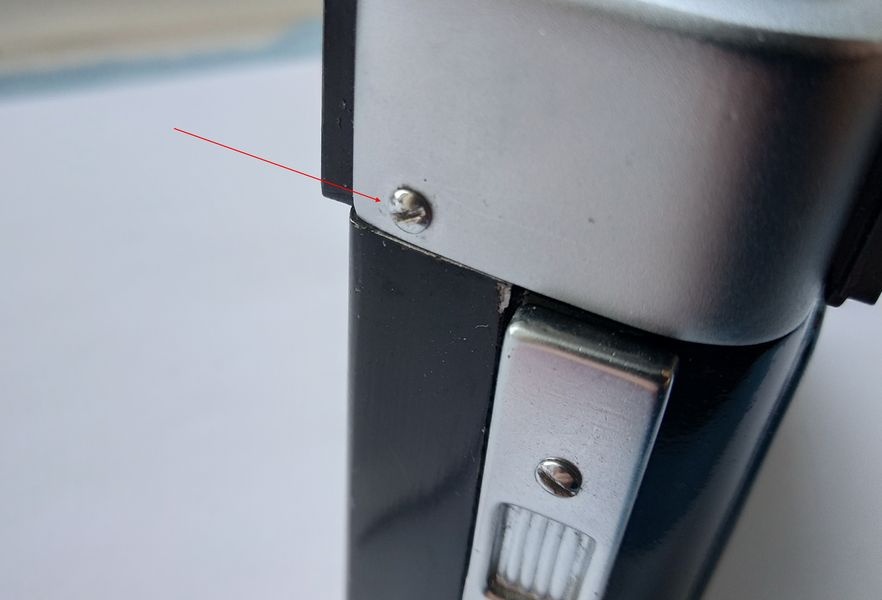
Finally, a single screw on the side of the camera completes the job.
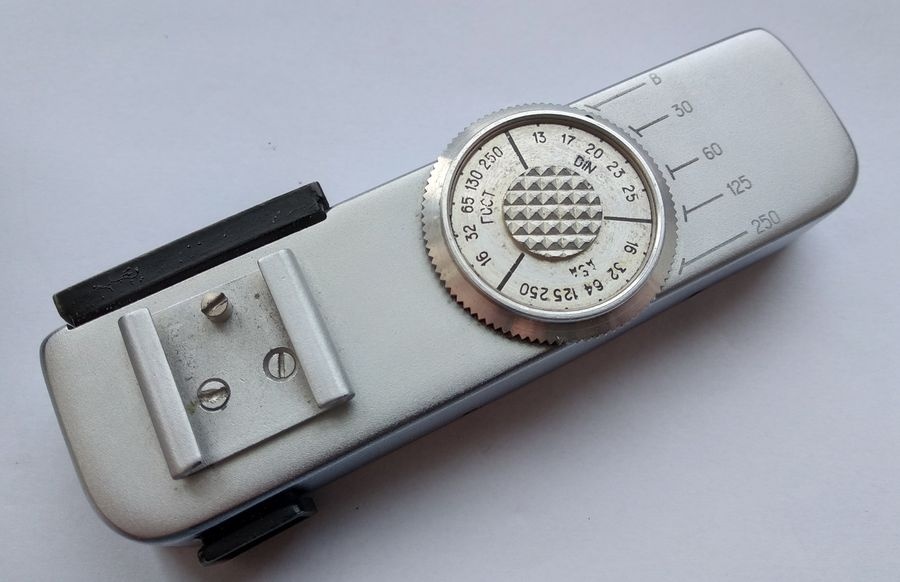
Here is the cover off the camera. On top are the shutter speed dial and the accessory shoe for mounting a flash.
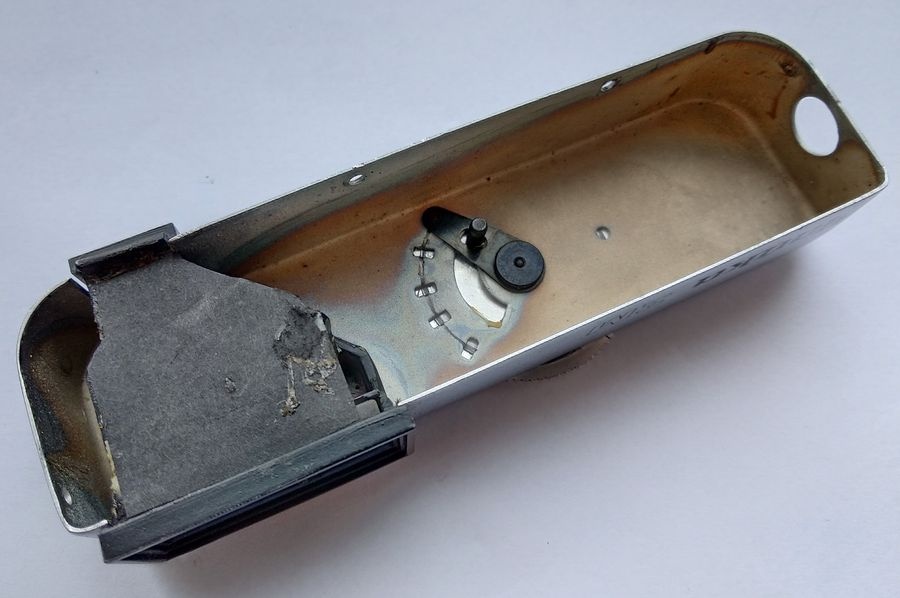
Inside the cover are the viewfinder optical block and the speed control linkage, consisting of a detent that holds each setting and a transfer finger that carries the chosen speed down into the mechanism in the body.
Diagnosis Under the Cover
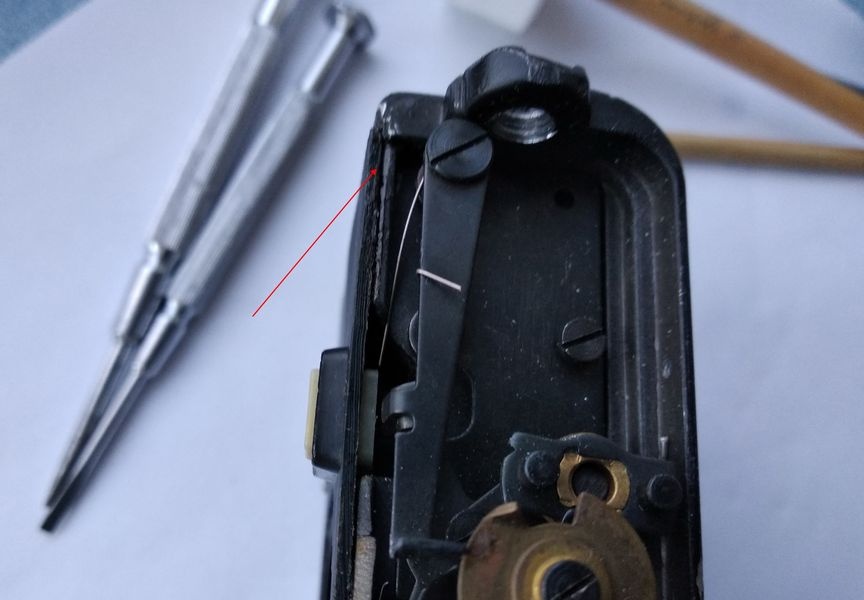
The source of the fault is now easy to see, and it is not as dramatic as the jammed shutter suggested. The plastic front panel, which in this design is a load-bearing component, has come unglued from the metal body. This is exactly the cost of the rationalization described earlier. With the panel separated, the levers it supports have drifted apart, and a spring has slipped off its seat. Working out where that spring belongs is not difficult. There are two screws in that area: one is the pivot for the lever, the other is the stop for the spring's tail, and the bend of the spring must bear on the lever itself.
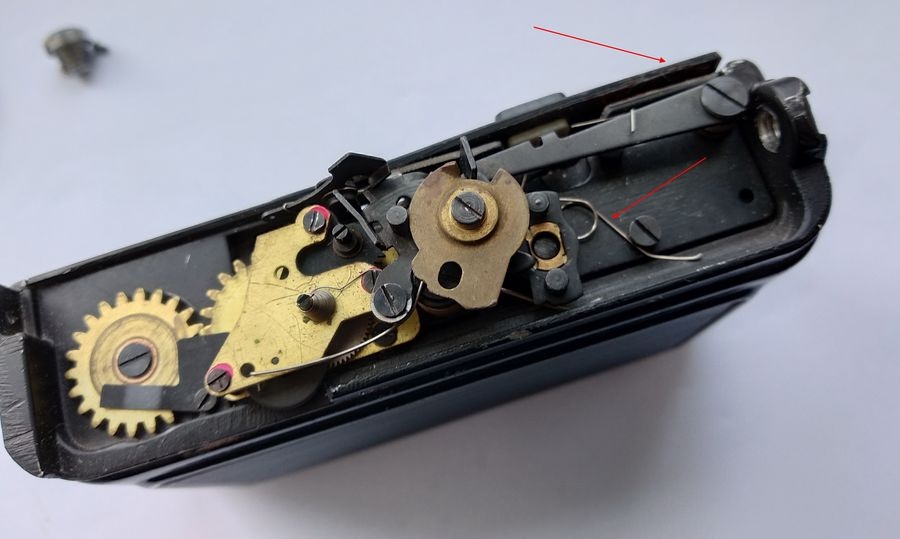
That is the overall plan. Taking the problems one at a time, the first is the panel itself, which must be bonded back into place.
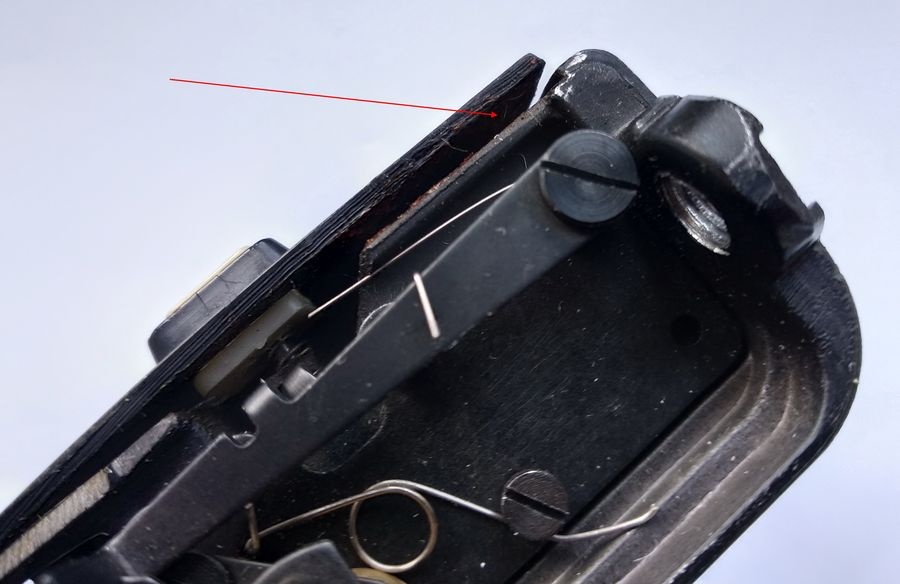
The spring is set aside for the moment. With the panel still loose, the levers cannot take up their correct positions anyway, so refitting it now would accomplish nothing.
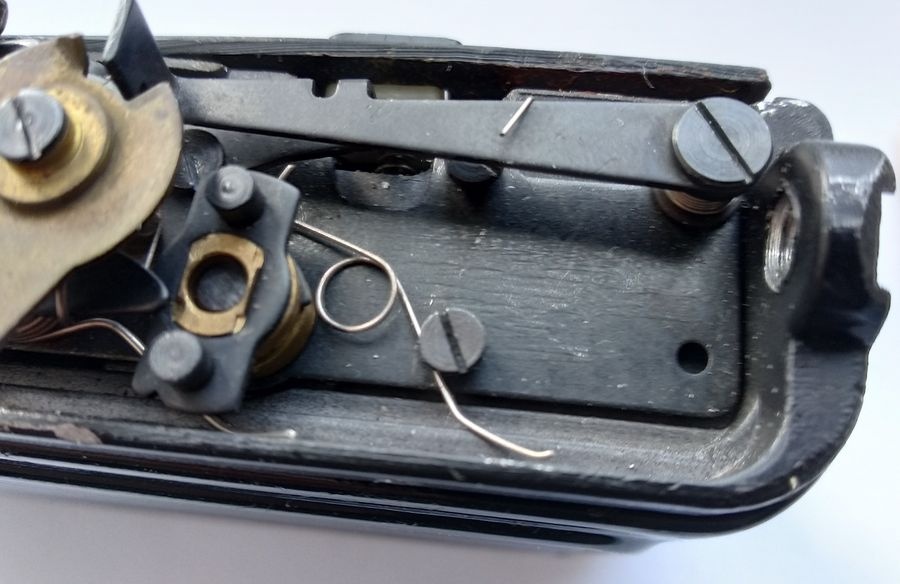
The next step is to force the shutter to fire by hand and see whether the governing mechanism responds. It does, with a crisp click.
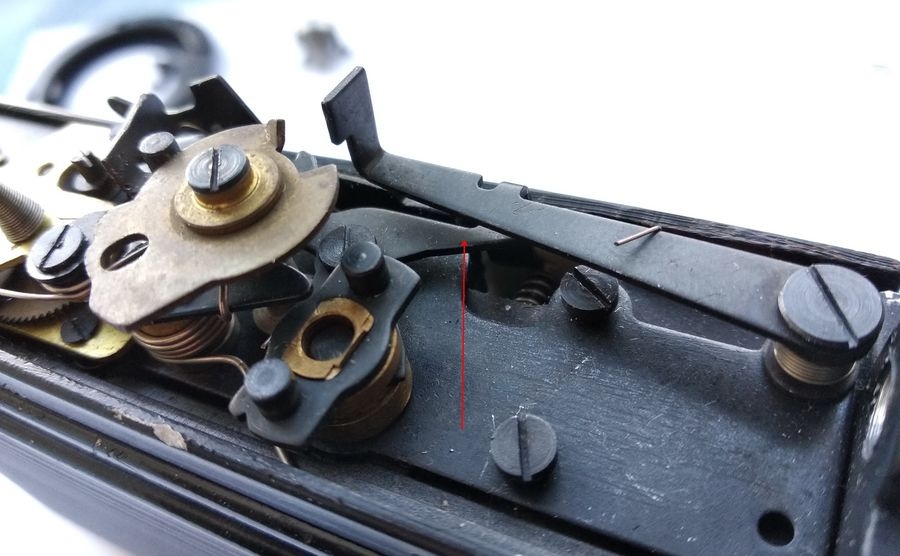
The mechanism completed its cycle, the control lever returned to its correct position, and the blades closed. This is an encouraging result, because it proves the governing unit itself is sound.
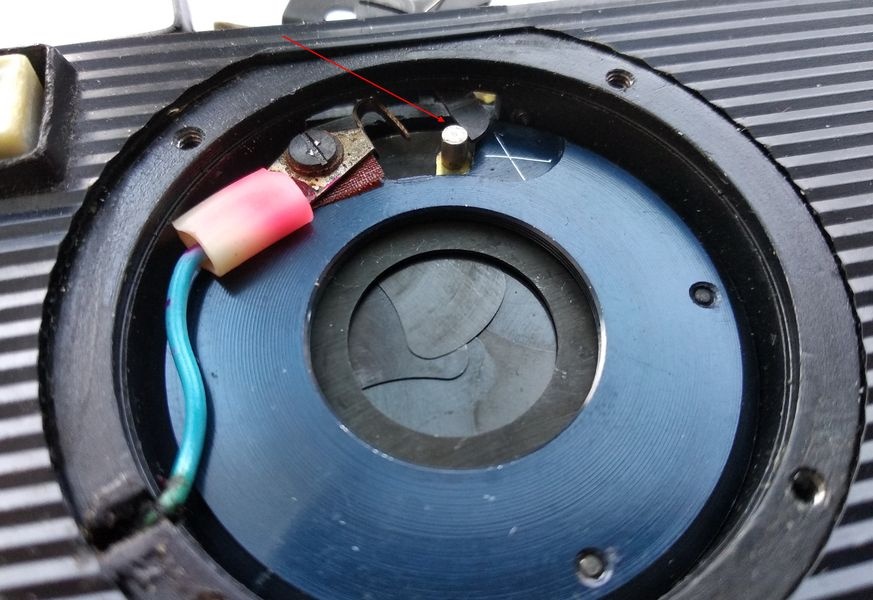
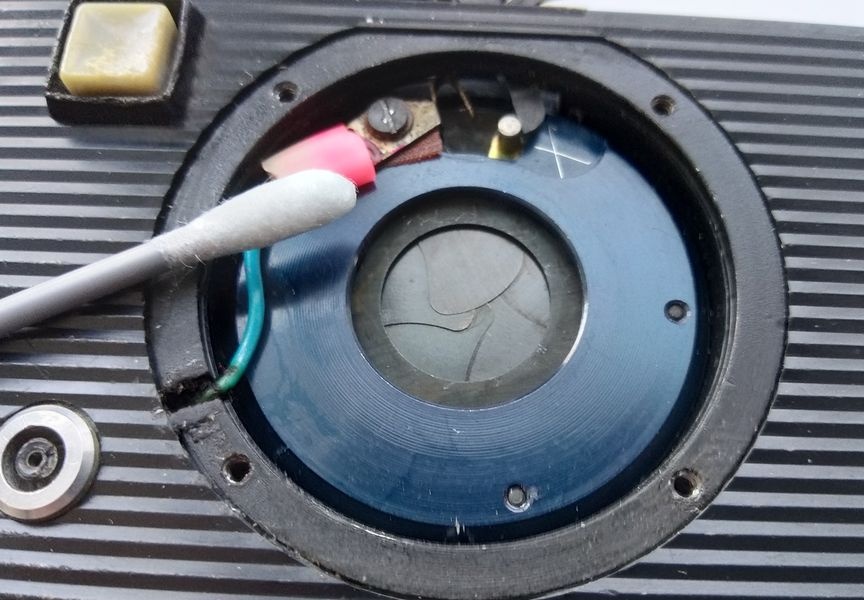
A further test of the blades shows that they work, but they move with a slight hesitation and drag. That too can be cured, because there are visible traces of oil on the blade surfaces. On the positive side, this is a proper five-blade shutter, which gives a near-circular opening.
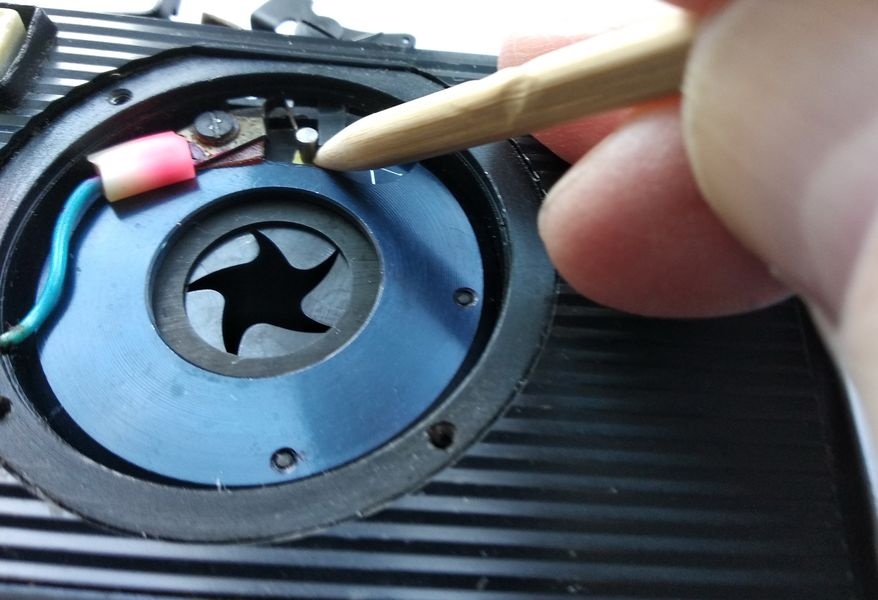
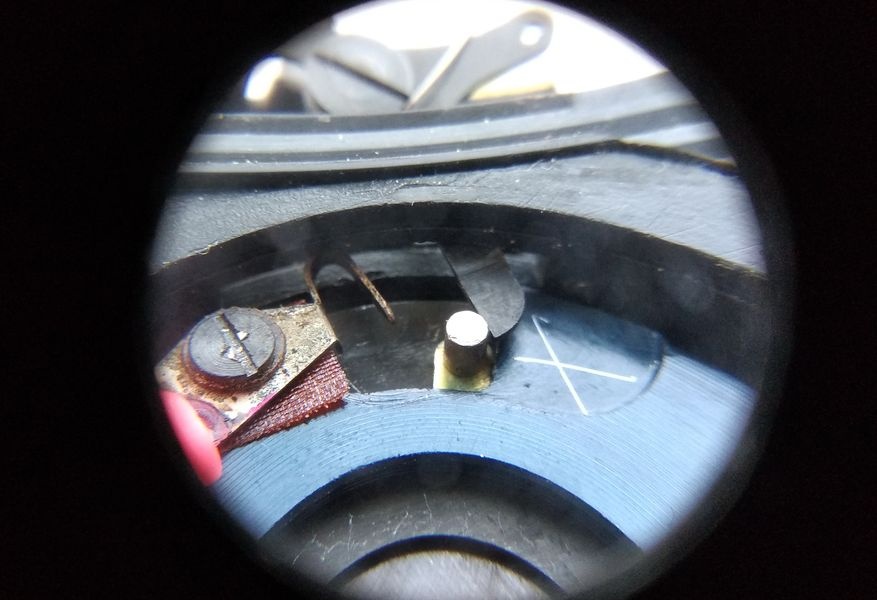
Under the loupe, the layout of the blade unit is easy to read: the flash synchronization contact, the driver, and the pin that operates the blades.
Bonding the Panel and Cleaning the Blades
Work begins with cleaning everything that can reasonably be reached. The panel is then glued, pressed home, and held under a clamp while the adhesive cures. The camera, as it happens, came with a gift from its owner, a bottle of Hacker-Pschorr Kellerbier, and the hour of curing time was spent accordingly before work resumed.
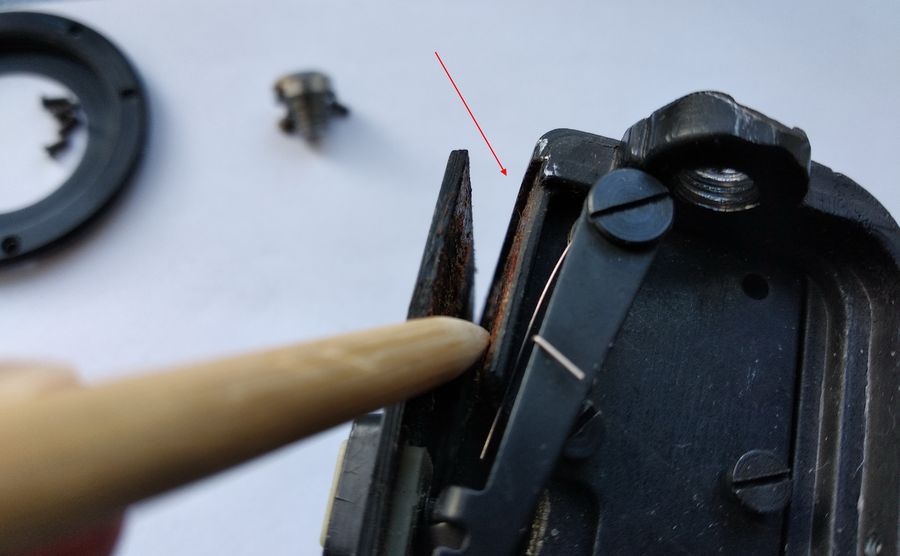
After the hour, the adhesive has fully set and the bond is completely rigid.
Next, the blades are flushed with petroleum ether to remove the oil. The difference in their action is immediate.
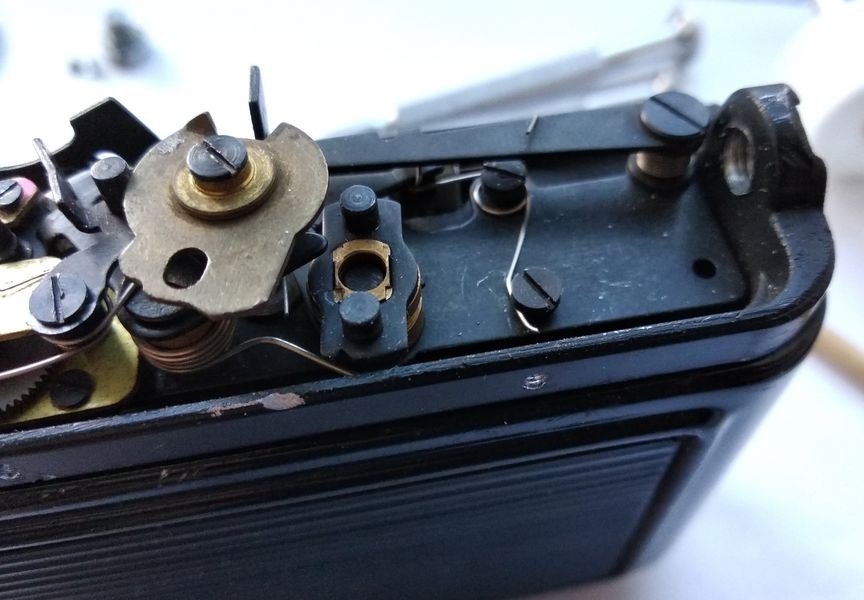
With the panel secure and the blades free, the spring can go back in. It seats as it should: coil on the pivot screw, tail against the stop screw, and the bend bearing on the lever.
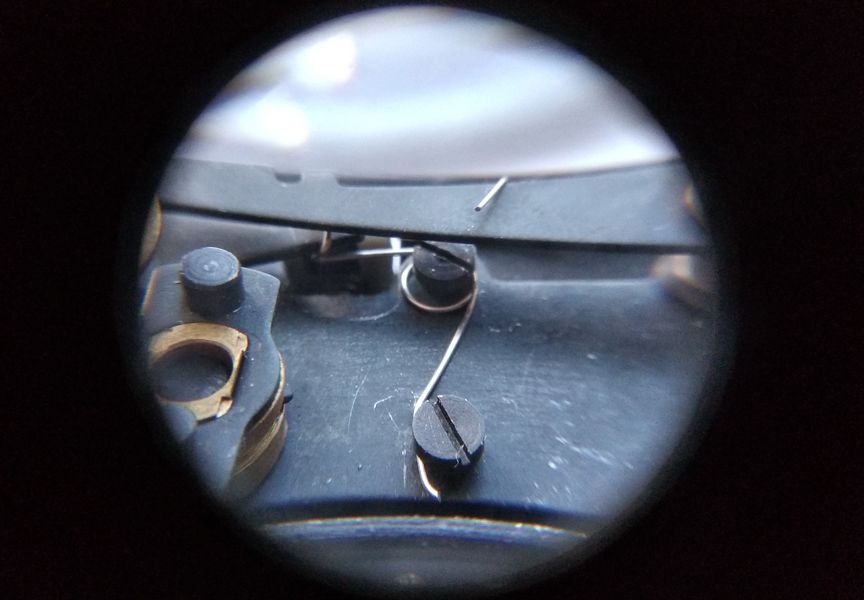
This is how the mechanism looks once everything is back together.
The Speed Sector and Functional Testing
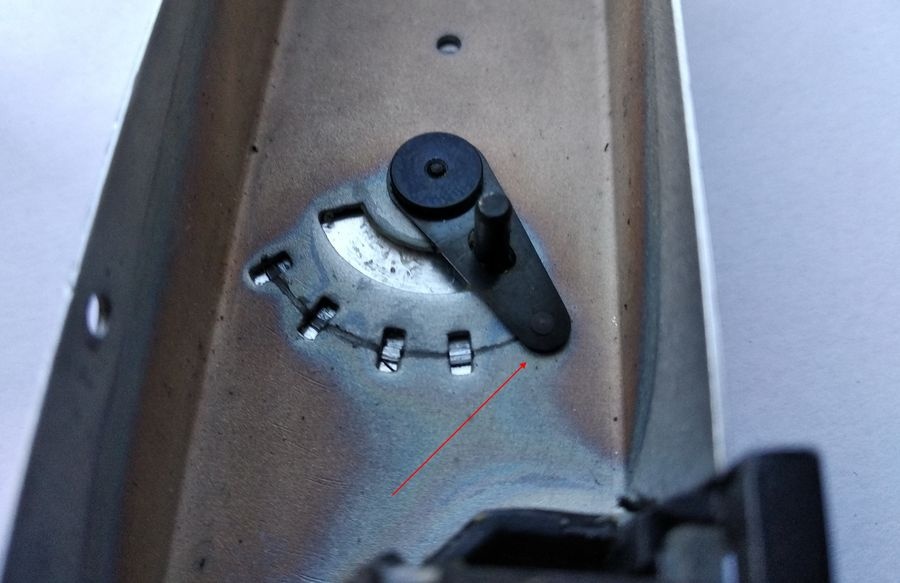
The speed mechanism deserves a closer look. Its setting is controlled by a sector. In the position shown here, the shutter operates on B: it stays open for as long as the release is held down.
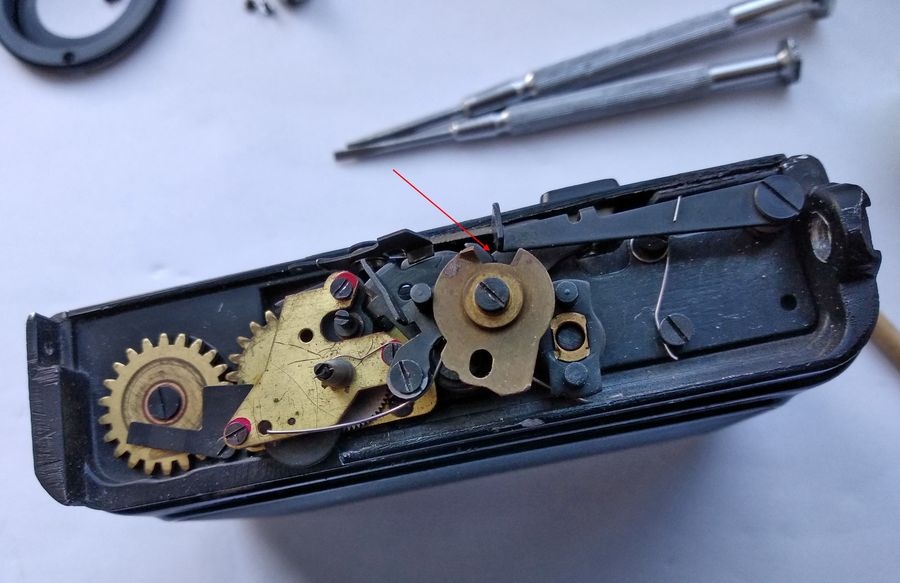
Rotated to this position, the sector gives 1/250 second.
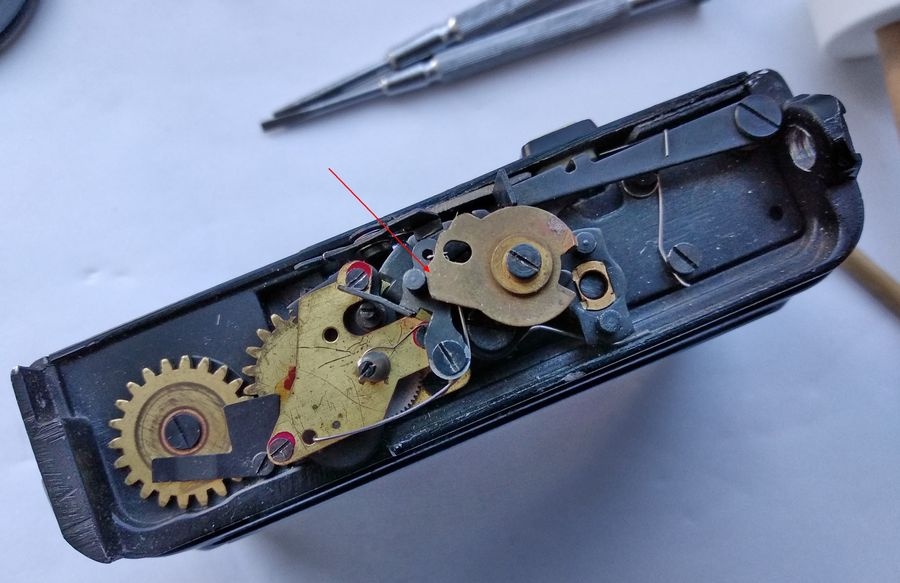
Now the shutter can be tested. With the speed set to B, the trigger cocks the shutter without any trouble. Pressing the release opens the blades promptly.
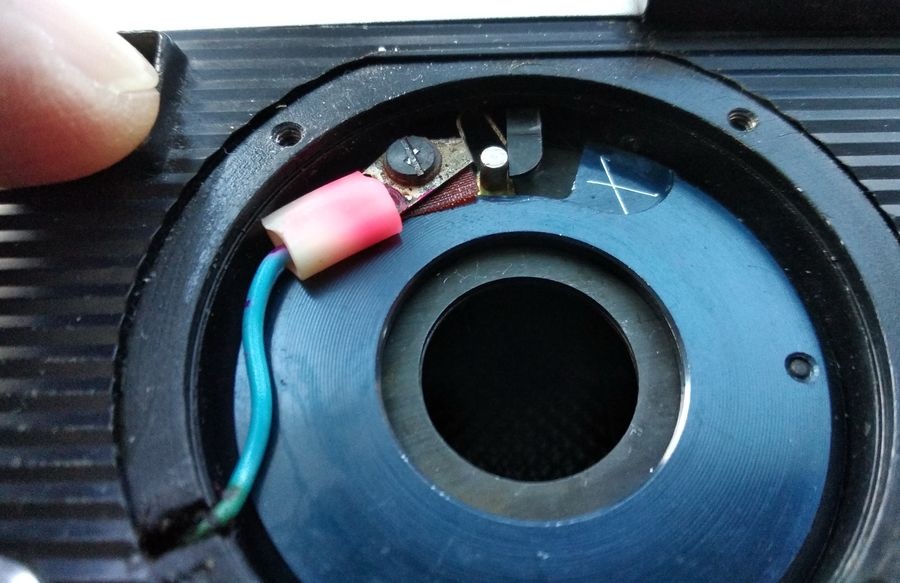
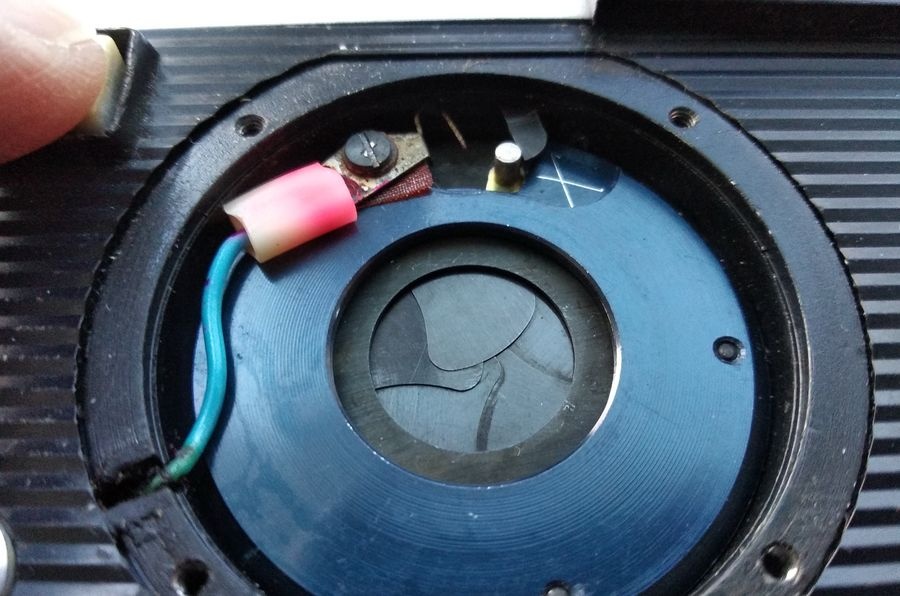
Releasing the button closes them instantly. The automatic speeds are then checked in turn, and every one of them works correctly.
Reassembly and Optical Cleaning
The top cover can go back on, but it must be indexed correctly. The speed sector in the body is set to B, and the speed dial on the cover is set to B as well. As the cover is lowered, the transfer finger must drop into its socket on the sector. If the two are not synchronized, the dial markings will not match the speeds the shutter actually delivers.
The cover is now in place, and the lens flange has been refitted.
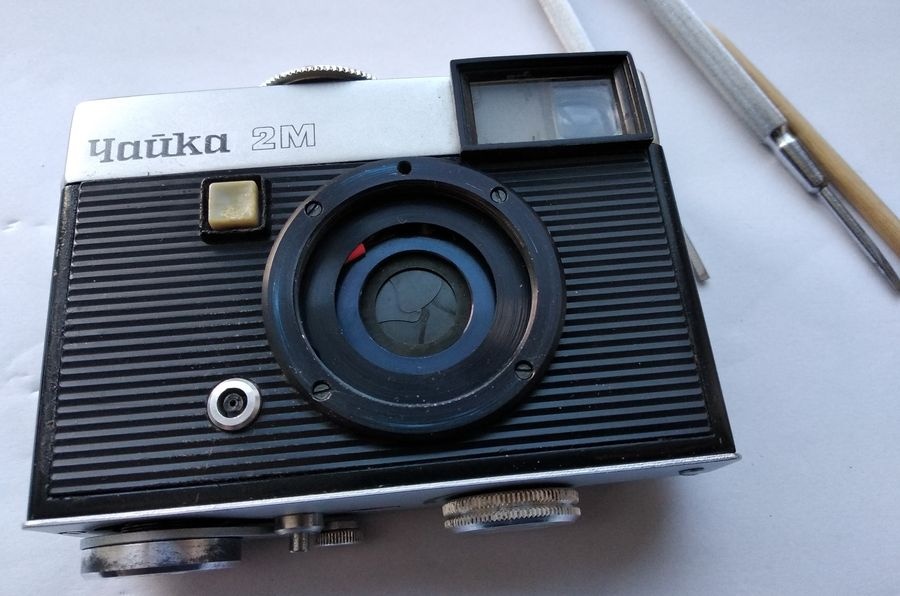
All that remains is to return the lens to the camera.
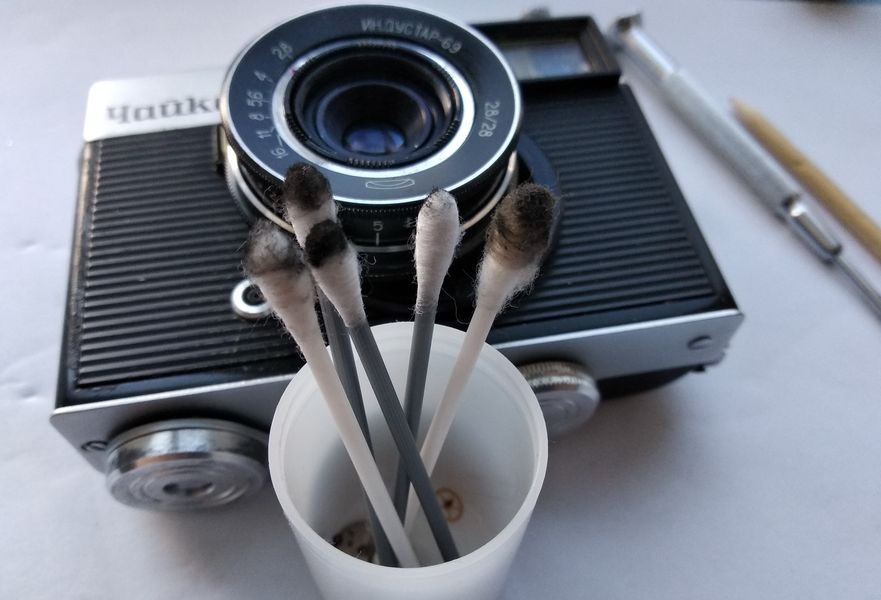
Before the lens is installed, its glass is cleaned with candle soot. The sticks were prepared in advance and work on the same principle as a commercial Lenspen, where fine carbon lifts grease from the coating without abrasion. After that, the focus calibration is checked by laying a ground-glass screen across the film gate rails and examining the image, and the job is done.
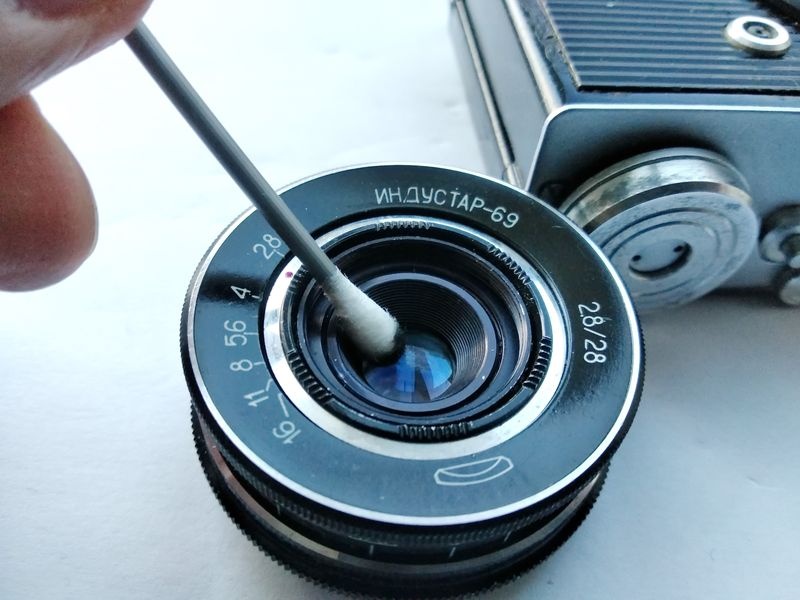
The camera is fully assembled, and the beer, it is fair to say, has been earned.
Closing Notes
There was a time when I used both the original Chaika and the Chaika-3, and this second-generation model is the one variant that had not passed through my hands until now. From experience, stopped down to f/8 or f/11, the Industar-69 produced sharpness good enough for 18×24 cm prints without difficulty. The cameras could also be loaded with reversal film, and the developed strips viewed directly in a filmstrip projector, though that was a modest way to enjoy the results. Today these cameras are mostly keepsakes. This one, however, is now fully functional; it needs only a roll of film.
One final observation. It is a pity that the Industar-69 does not cover the full 24×36 mm frame. On a full-frame body it would have made an excellent compact wide-angle lens, but its image circle was designed for the half-frame format alone.
Comments
Be the first to write a comment for this article.
Write a comment