
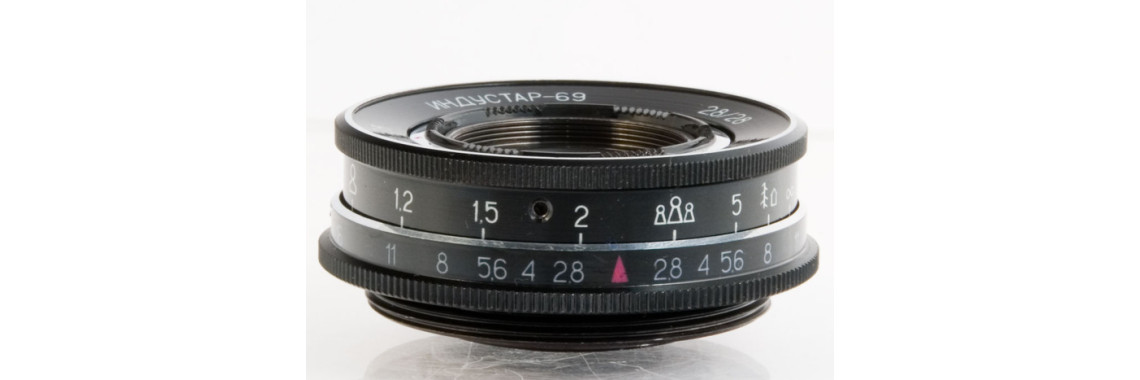
Industar-69 28mm f/2.8: Helicoid Service, Reassembly and a Macro Test
"A focusing helicoid is a screw that must turn smoothly for decades. Mark everything before it comes apart, and it will go back exactly where it was."
— Notes from the repair bench
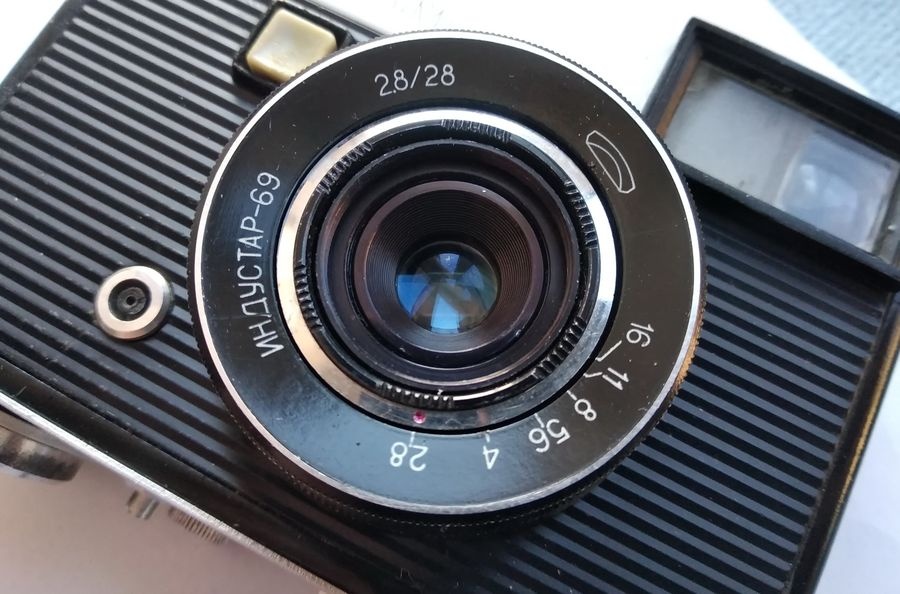
The earlier account of the Chaika-2M shutter repair left one job undescribed: servicing the lens. A colleague noticed the omission at once, and rightly so. The work is specialized and has enough steps to deserve its own write-up, and the lens itself, the Industar-69, is more interesting than its modest role on a half-frame camera would suggest.
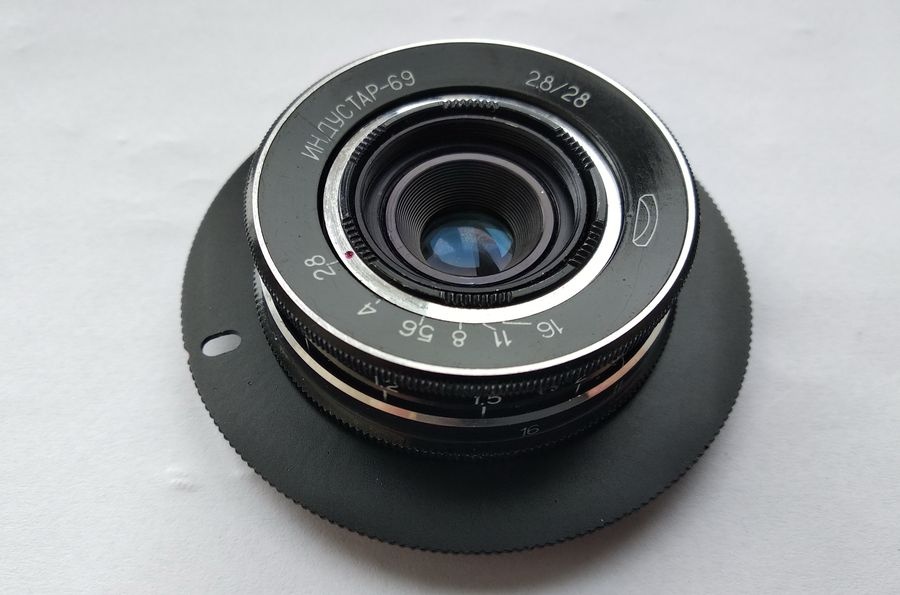
The Industar-69 has a flange focal distance of 27.5 mm and fully covers the 18×24 mm half frame. That combination gives it a life beyond the Chaika. Because the half frame is close in size to an APS-C sensor, the lens can be fitted to modern digital cameras of that format. On bodies with the long register of a reflex camera it cannot reach infinity, but it becomes a capable macro lens. On a mirrorless body, through a simple M39×1 adapter, it can serve as an ordinary everyday lens. In working condition it is a well-specified optic that produces a very good image, which is reason enough to restore one properly. What follows is the complete procedure.
Construction and Preparation
The lens consists of three mechanical elements: the focusing helicoid, a removable focusing ring carrying the distance scale, and the aperture ring. Optical specifications can wait until the end. Before anything is loosened, a few preparatory steps are essential, and the first is to open the aperture fully to f/2.8.
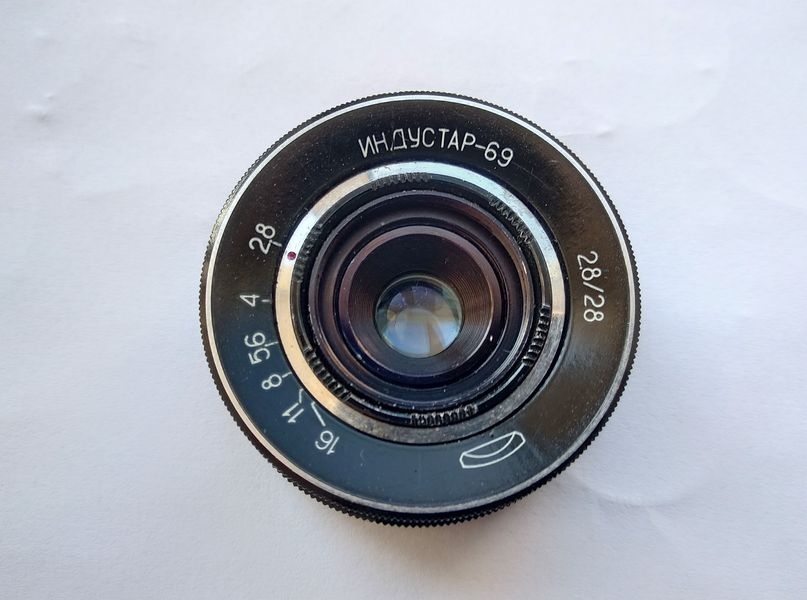
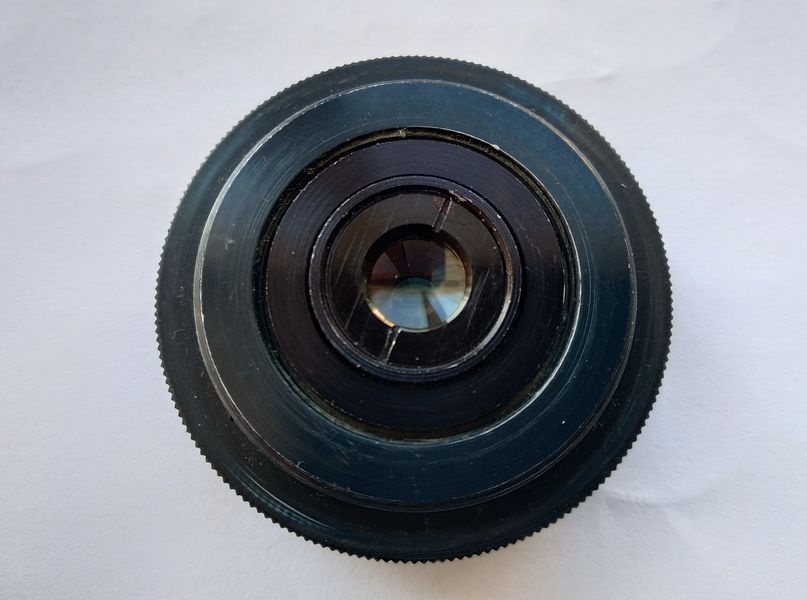
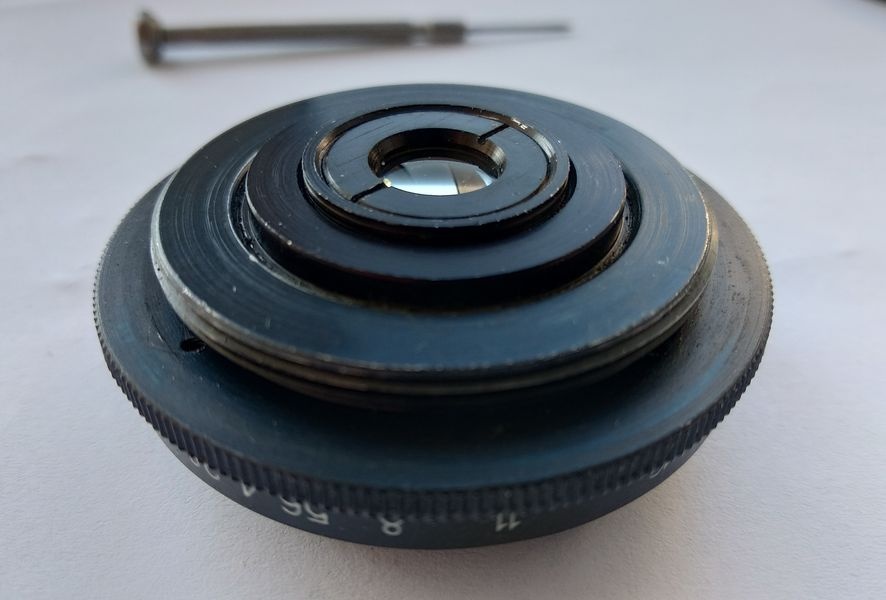
Seen from the rear, only one detail matters at this stage: the slotted ring around the rear element. It retains the rear cemented group, and it must be left alone. Unscrewing it without knowing what it holds will simply let the cemented component drop out. That ring is removed only when the optical block itself has to be dismantled, and there is no reason to do so here. The glass is in excellent condition and will need nothing more than a cleaning with candle soot at the end of the job.
Next, the focusing scale is set to infinity.
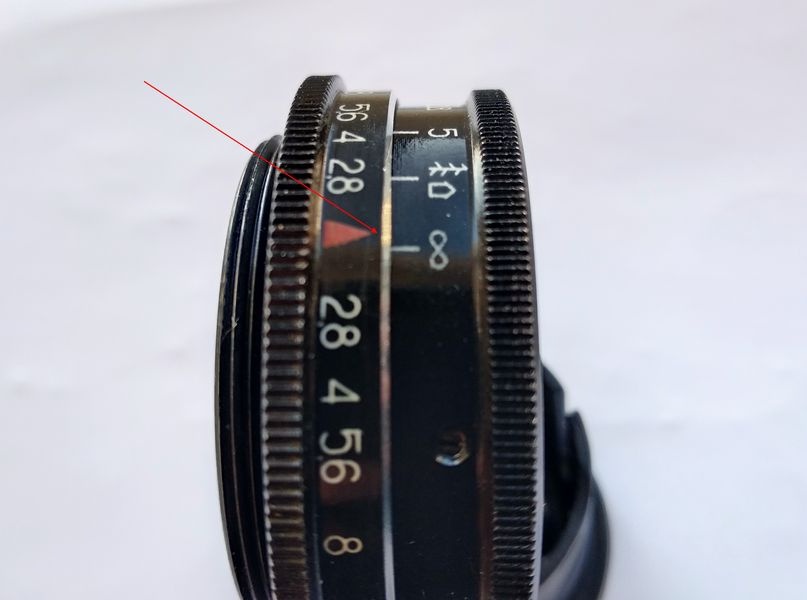
The lens is then turned over, and scribe marks are made across the adjoining surfaces of the helicoid parts. These marks will make reassembly far easier and far more precise.
Removing the Focusing Ring
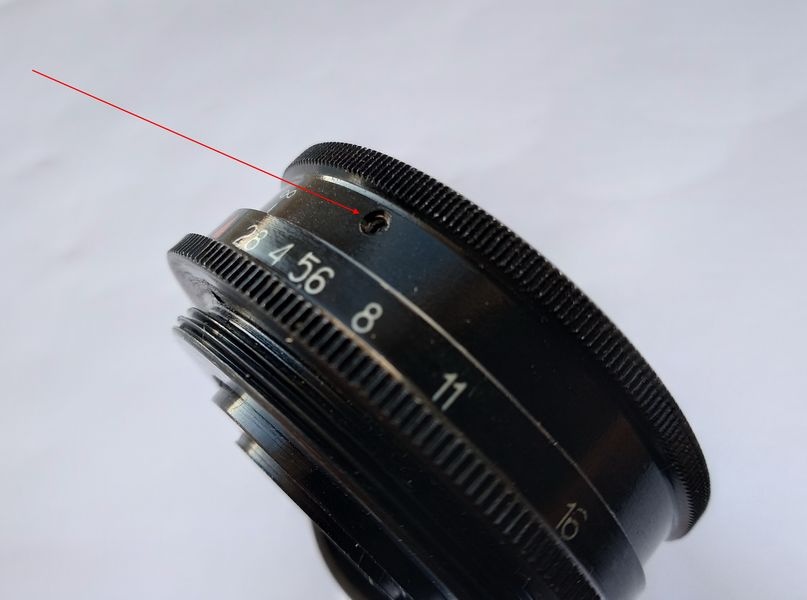
With the marks in place, the focusing ring can come off. The lens is held firmly so that nothing shifts, and the three screws spaced around the circumference of the ring are loosened.
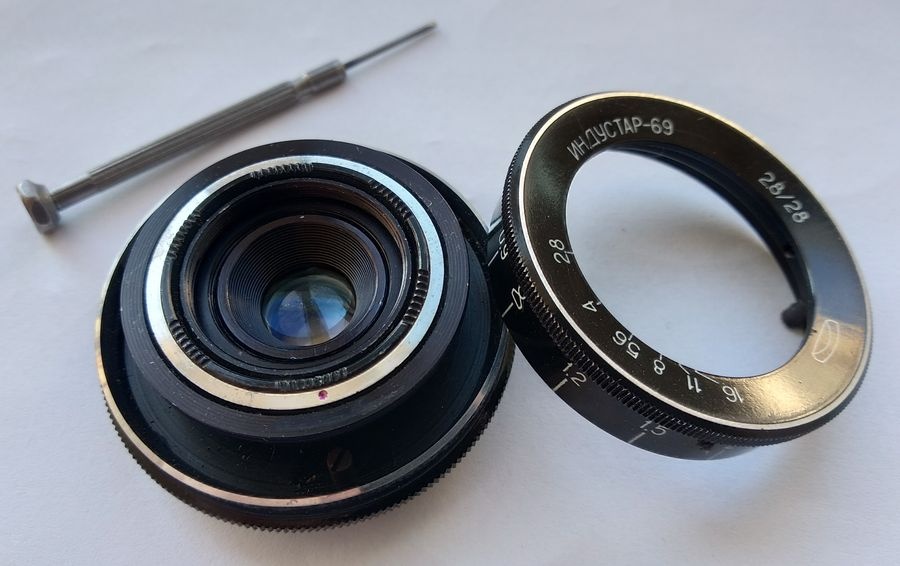
Once the screws are backed off, the ring lifts away from the moving section of the helicoid that carries the optical block.
This is the moment to stop and observe one relationship carefully: the position of the red dot of the aperture index relative to the limit pin. It will be needed again during reassembly.
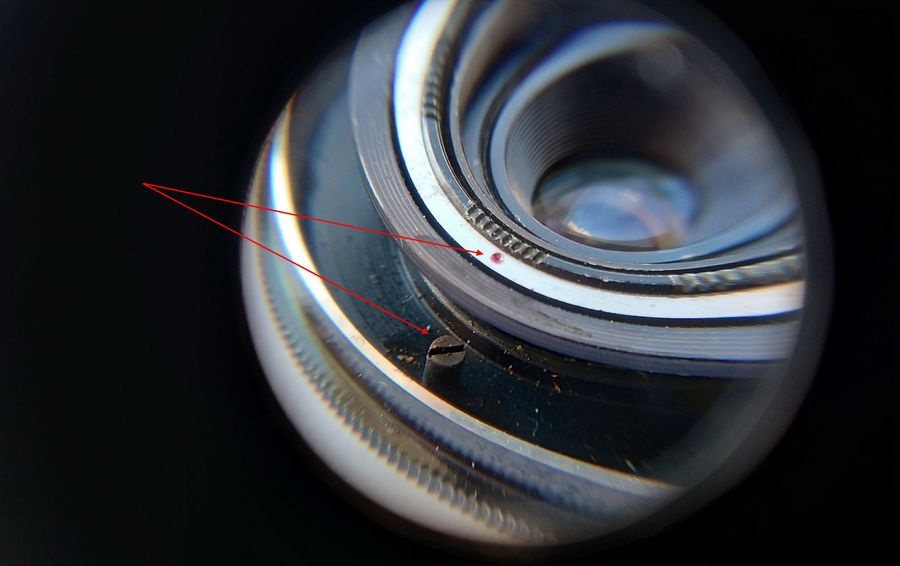
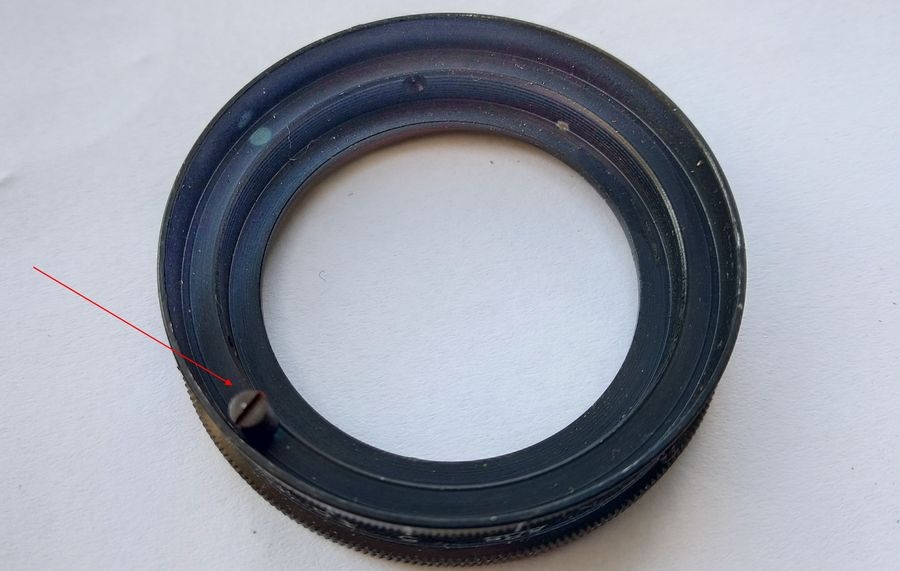
The focusing ring has a single stop on its inner side.
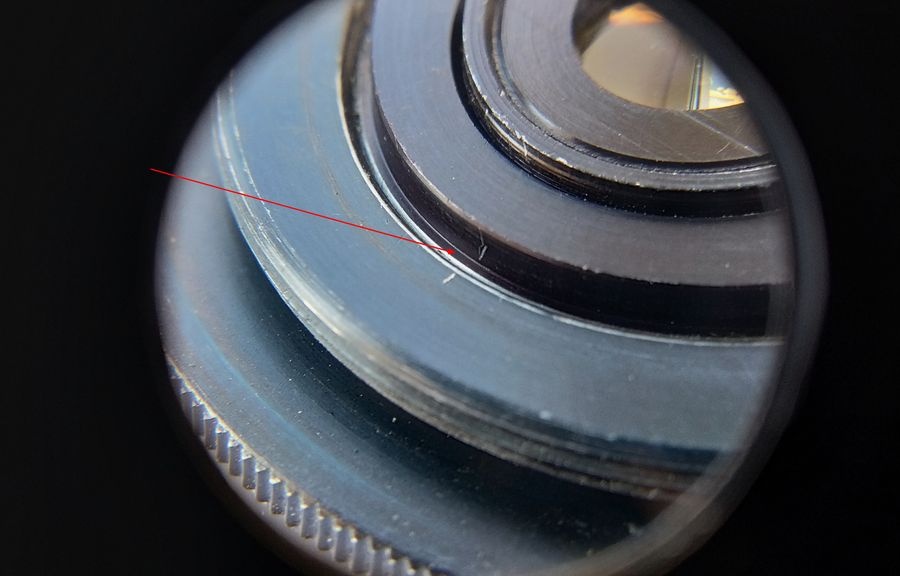
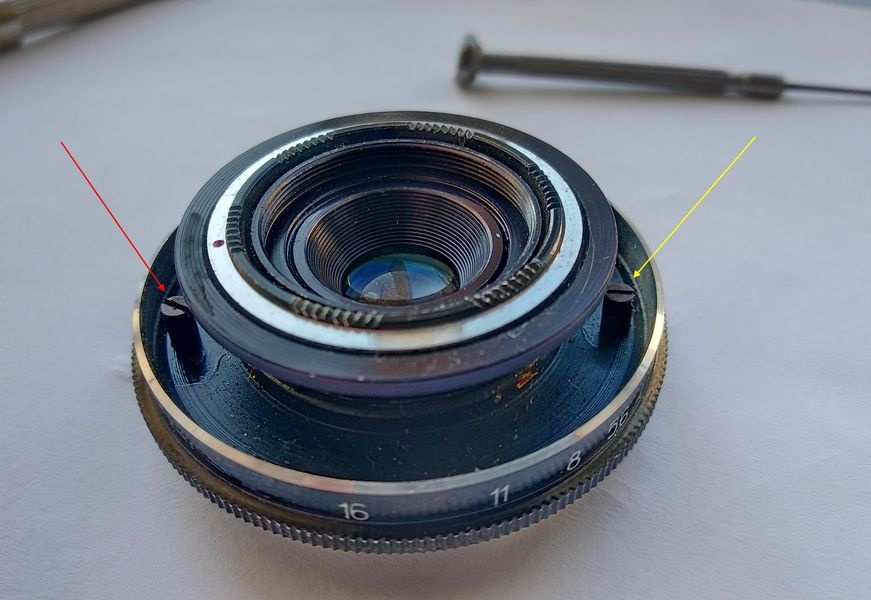
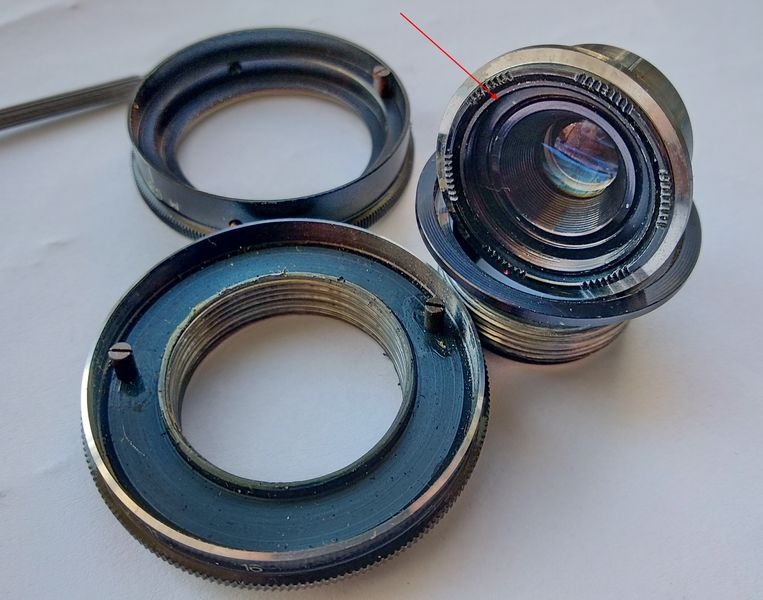
The fixed part of the helicoid, on the inner side of its flange, has two limit pins. The one indicated by the red arrow defines the infinity position. The one indicated by the yellow arrow prevents the moving part of the helicoid from running past the minimum focusing distance, which is normally 0.8 meter. It is worth noting now that this second pin can be unscrewed if a shorter minimum distance is wanted, for example when the lens is used for close-up work on a digital camera. With the pin removed, the helicoid gains additional travel and the lens can focus considerably closer.
The arrangement of parts on the rear side should be noted as well before going further.
Separating the Helicoid
The two helicoid sections can now be unscrewed, turning counterclockwise. Three and a half turns are needed before they part. The exact angular position at which they separate must be remembered, because they have to be re-engaged in precisely that position. Only then will the correct start of the multi-start thread be found.
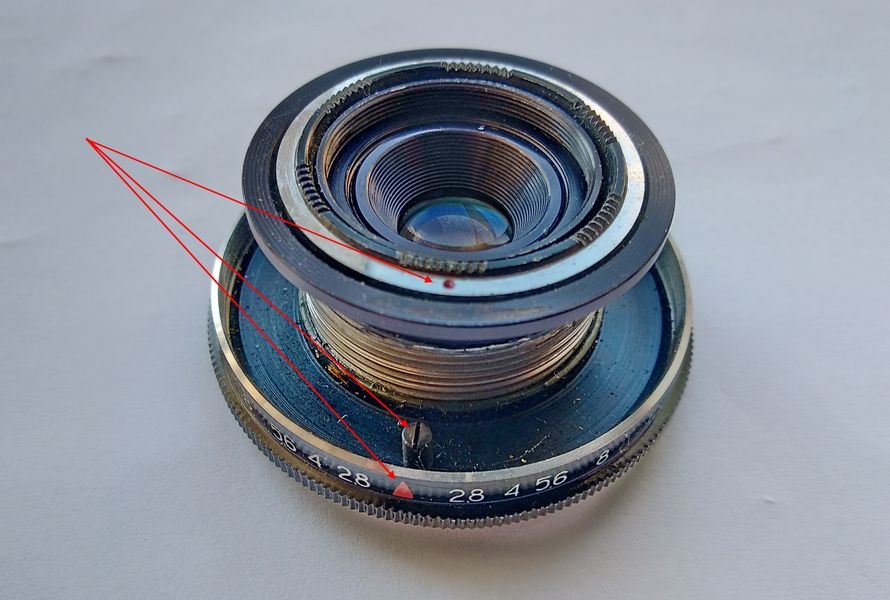
In principle the lens is now apart, but the optical block still has to be unscrewed from the moving helicoid.
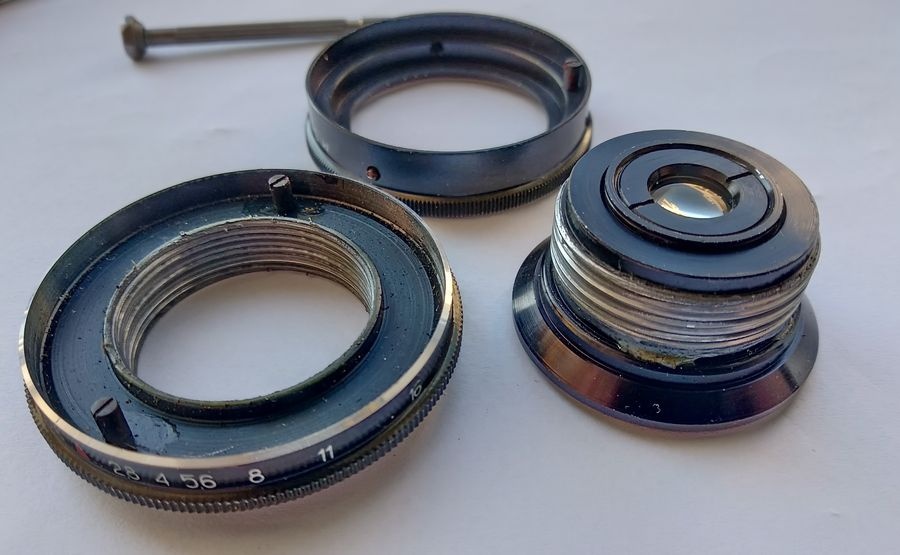
This part, the optical block with the aperture ring,
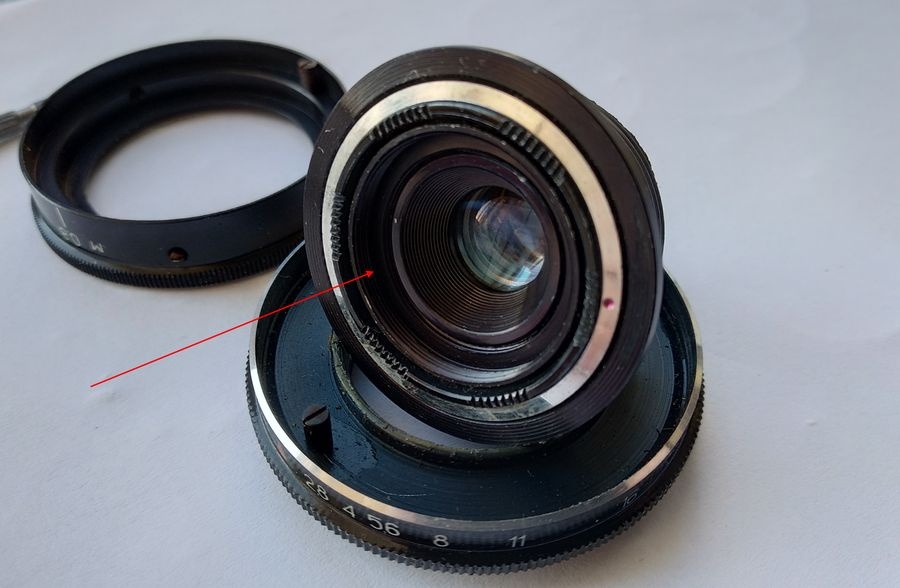
has to come out of this part of the helicoid.
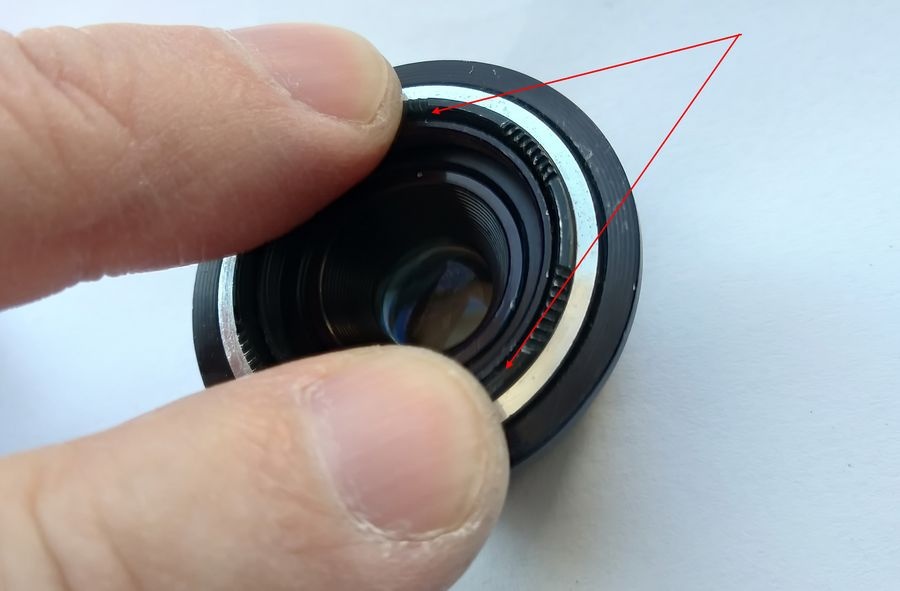
To remove the block, the aperture ring is gripped between two fingers on its knurling, and with modest force the block is unscrewed from the helicoid counterclockwise. This thread is single-start, so no marks are required here.
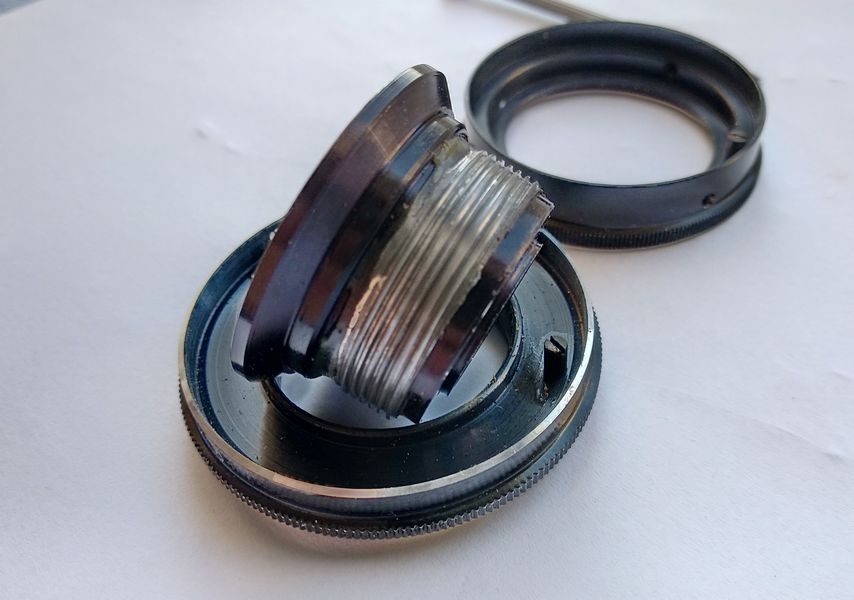
The helicoid is now free.
Condition of the Old Lubricant
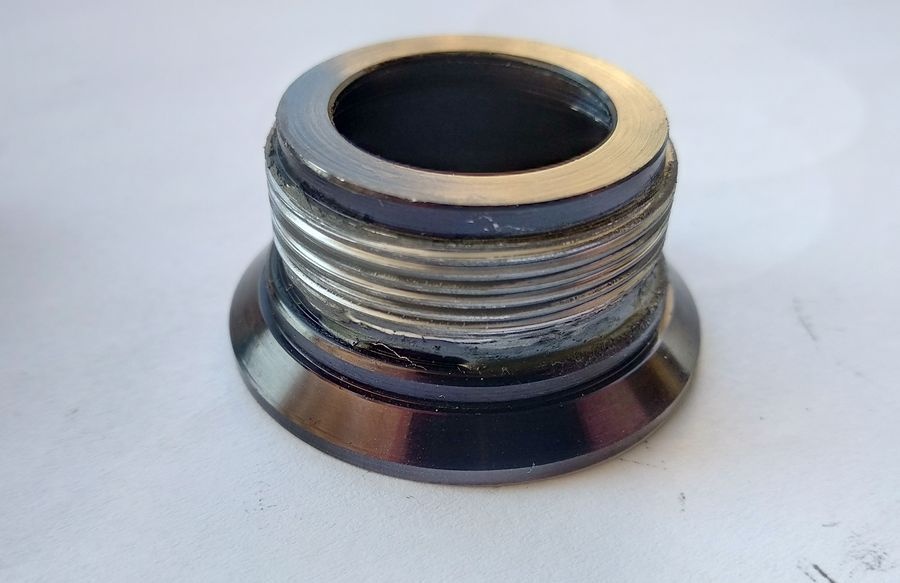
Here is the helicoid thread itself. The grease on it clearly needs replacing.
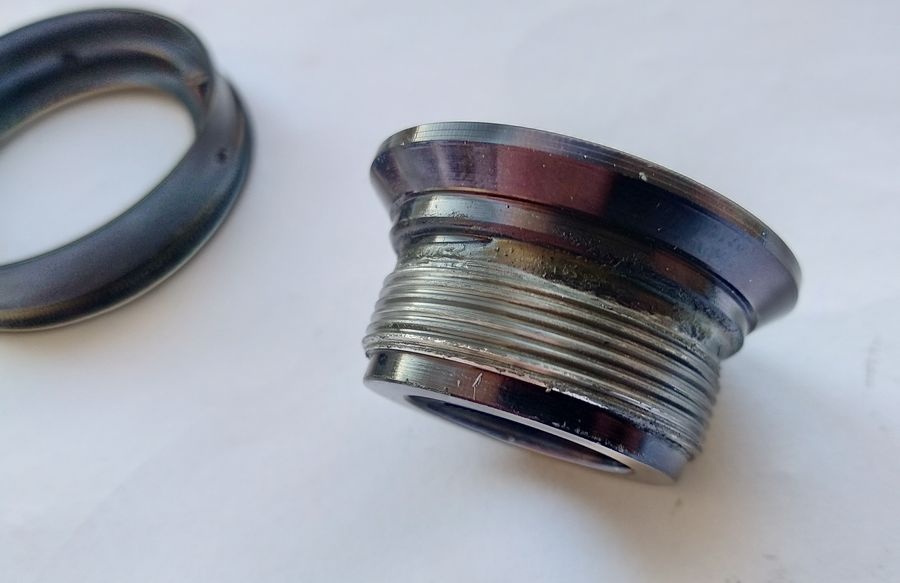
And the same thread from another angle.
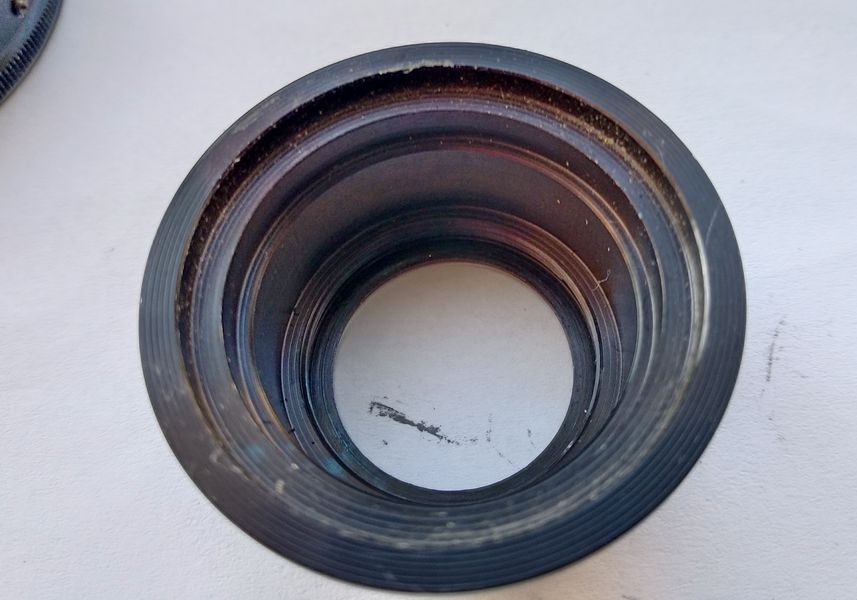
This is the inside of the helicoid, where the optical block seats.
Cleaning
The mechanical side of the lens is now fully dismantled, and cleaning can begin. The threads are washed in benzine, and the grooves of each turn are scraped out with a wooden toothpick to remove the dirt that has worked its way into them.
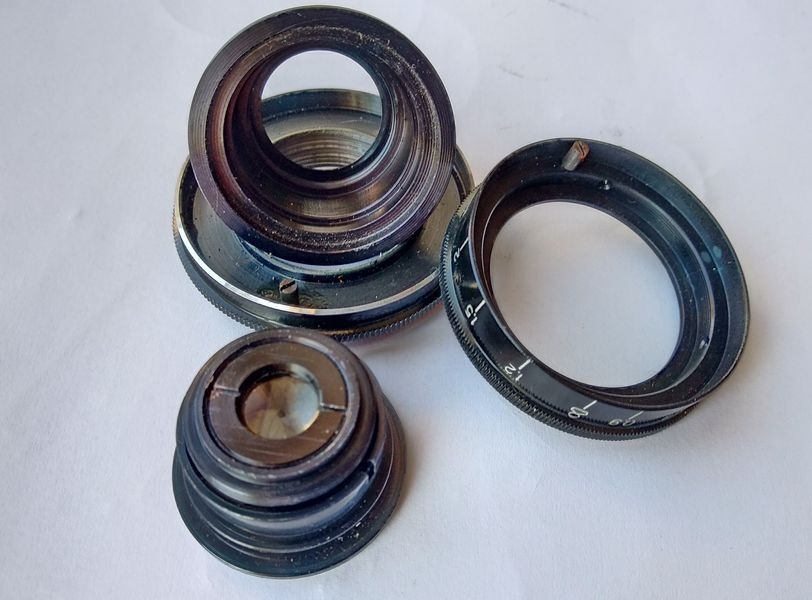
After washing, every part is clean and bright, and assembly can begin.
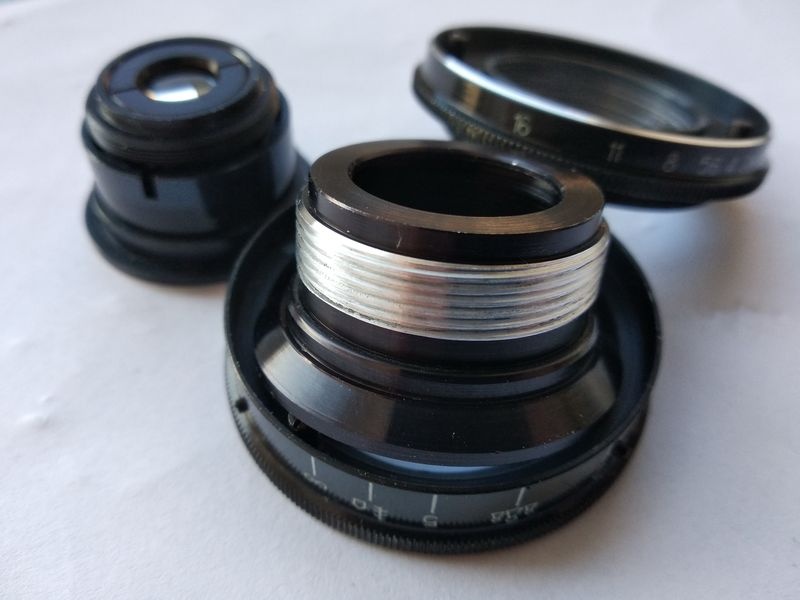
Reassembly
The optical block goes back first. It is screwed into the helicoid by the same method used to remove it, and tightened firmly but not hard: enough that it will not back out while the aperture ring is being set.
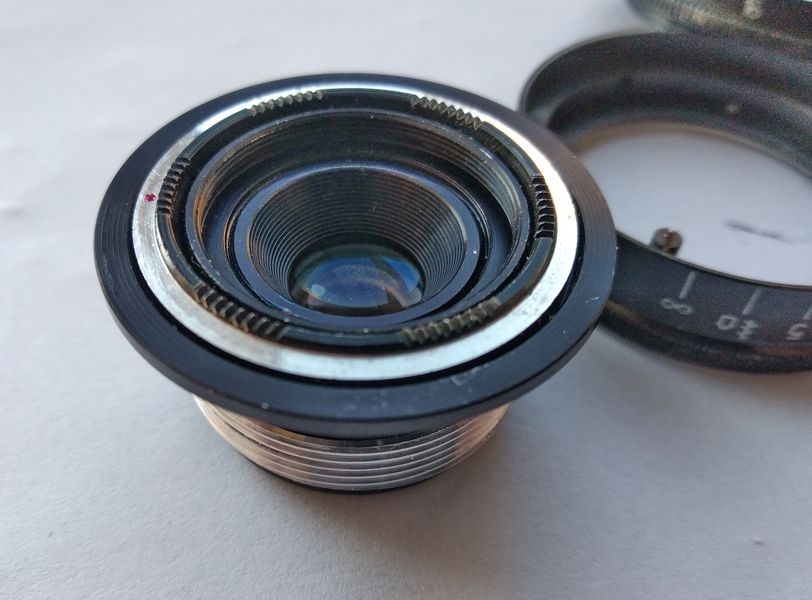
Grease is then applied to the helicoid thread, and in modest quantity, as shown here; more is not needed. The range of helicoid greases available today is wide, but out of long habit I use the proven OKB-122-7.
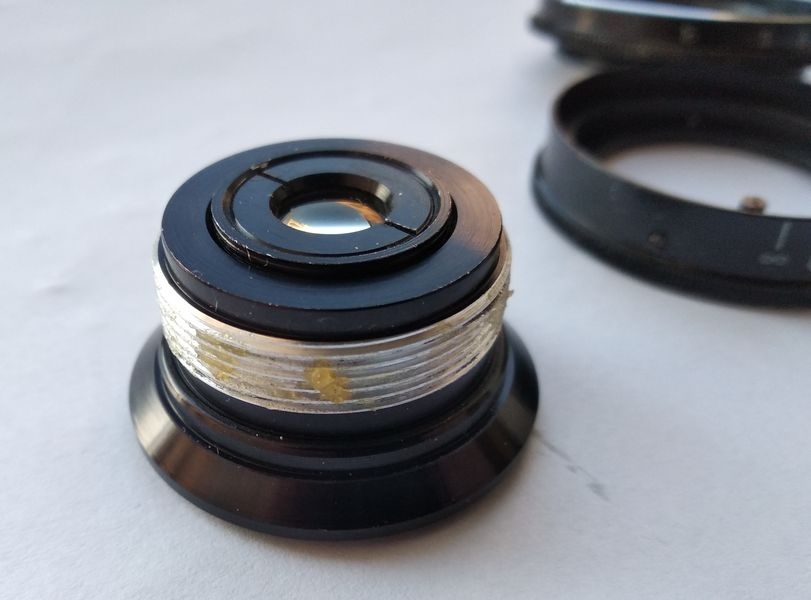
The aperture ring is set to full aperture once more, and the aperture index and distance scale index are placed opposite each other. In this position the thread starts engage correctly.
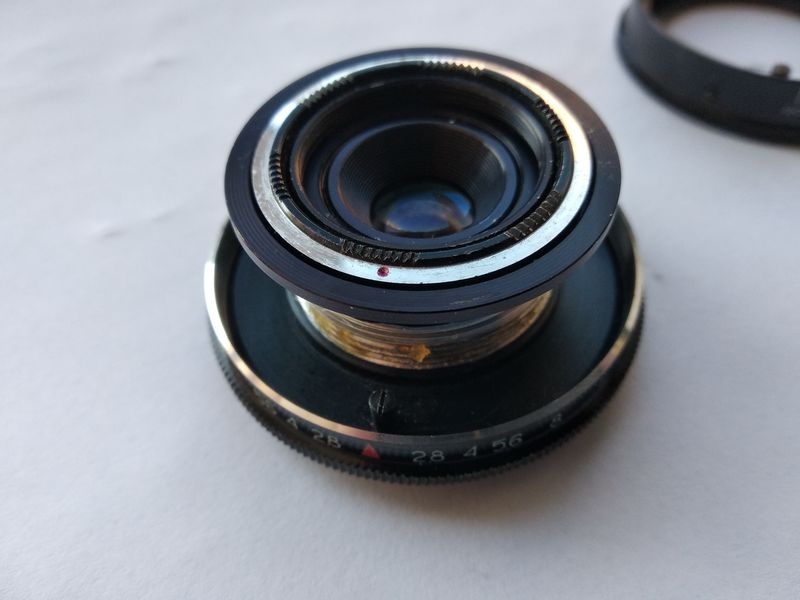
The helicoid is now screwed in three and a half turns, until the red dot meets the travel stop. That is the coarse setting.
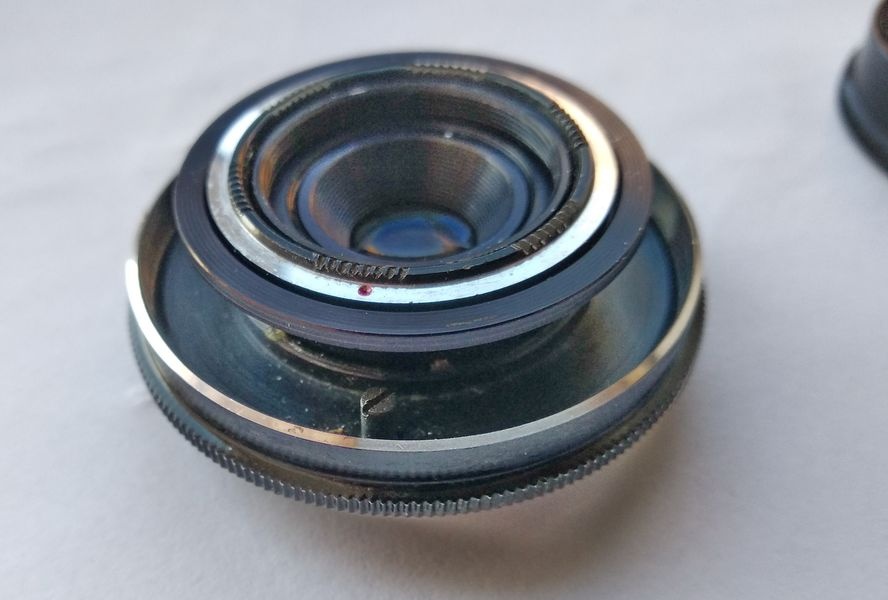
The lens is turned over and the scribe marks made at the start are brought into line. That is the fine setting.
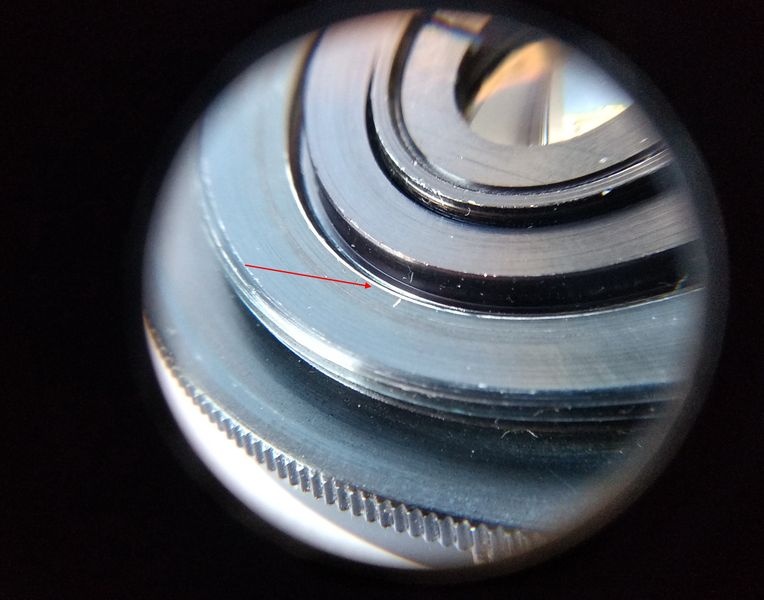
In this position the focusing ring is fitted and its screws are tightened. The setting obtained this way is very accurate and normally needs no further adjustment. It can still be confirmed on a ground-glass screen. If there is any discrepancy, the ring screws are loosened, the helicoid is set more precisely, and the screws are tightened again. A workshop would use a collimator for this, but at home that is rarely an option.
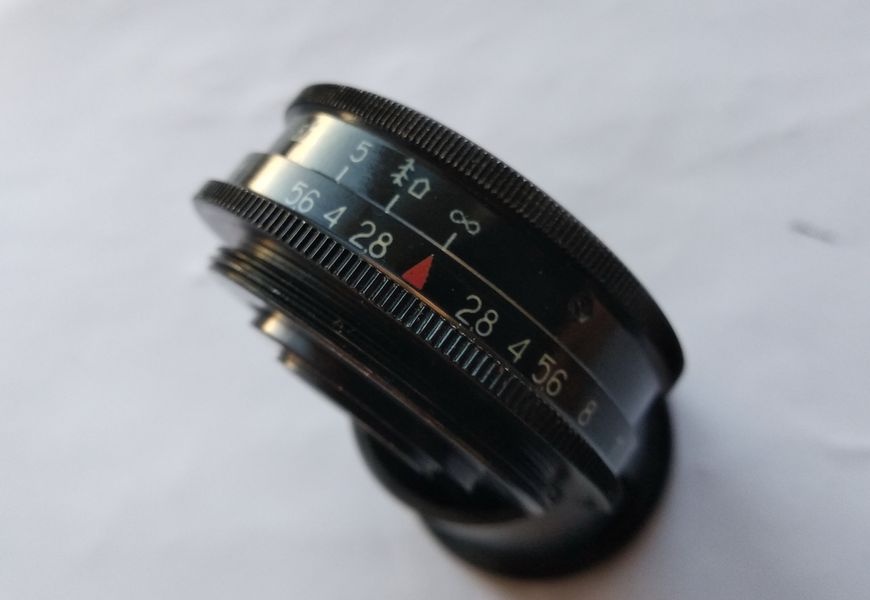
After the lenses are washed and cleaned with candle soot, the Industar-69 is ready to go back on the camera.
A Practical Test on an APS-C Body
The job could end here, but it is worth seeing how the lens actually draws. No mirrorless body was at hand, as mine was on loan at the time, so the test is done in macro. The first step is to convert the M39×1 thread to M42×1 with an adapter ring.
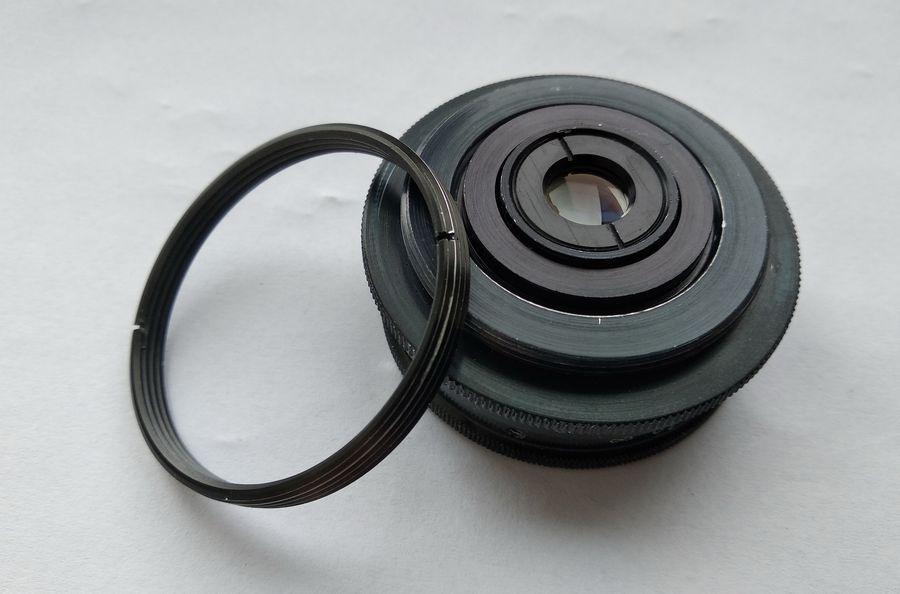
Fitted, it looks like this.
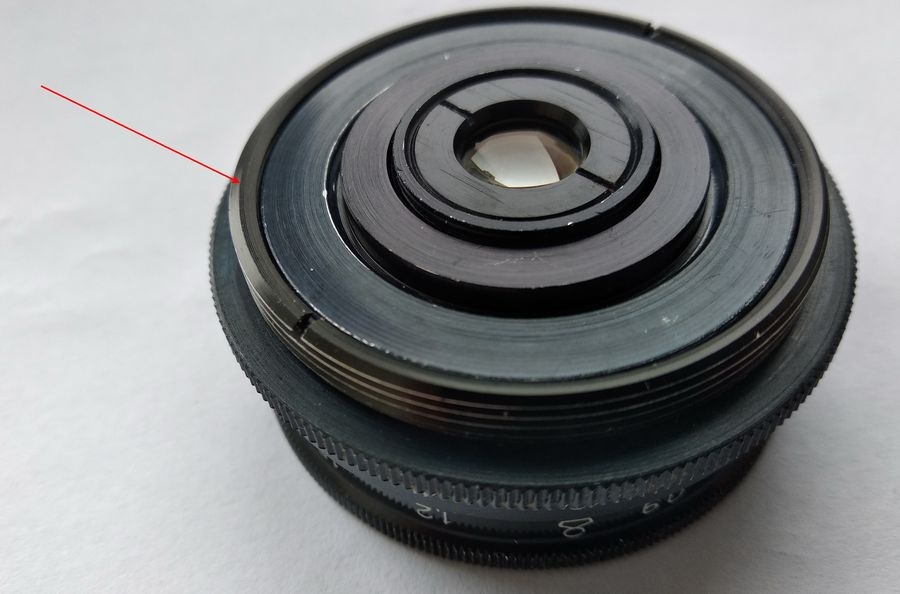
A second adapter then mounts the lens on a camera with a 23.5×15.6 mm sensor and a 44.5 mm flange distance. With this combination, the distance from the front rim of the lens barrel to the subject at the point of focus is five centimeters.
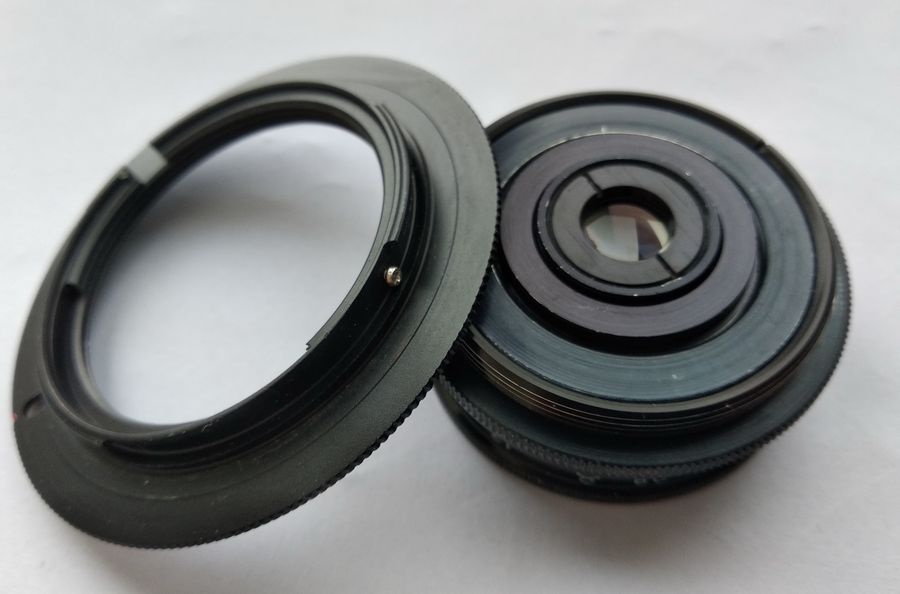
The assembly is ready.
Sample Photographs
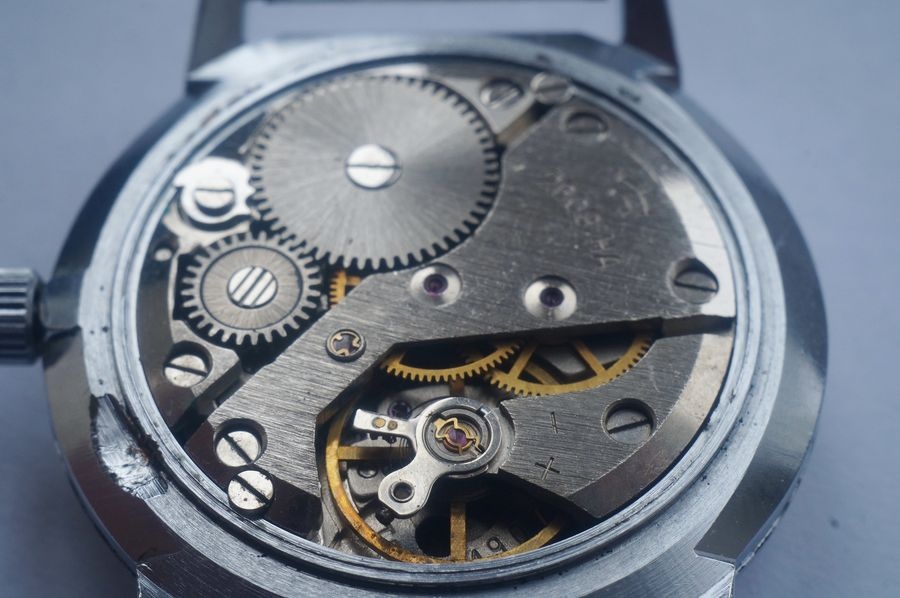
The natural first subject is a watch. This frame was taken at f/2.8.
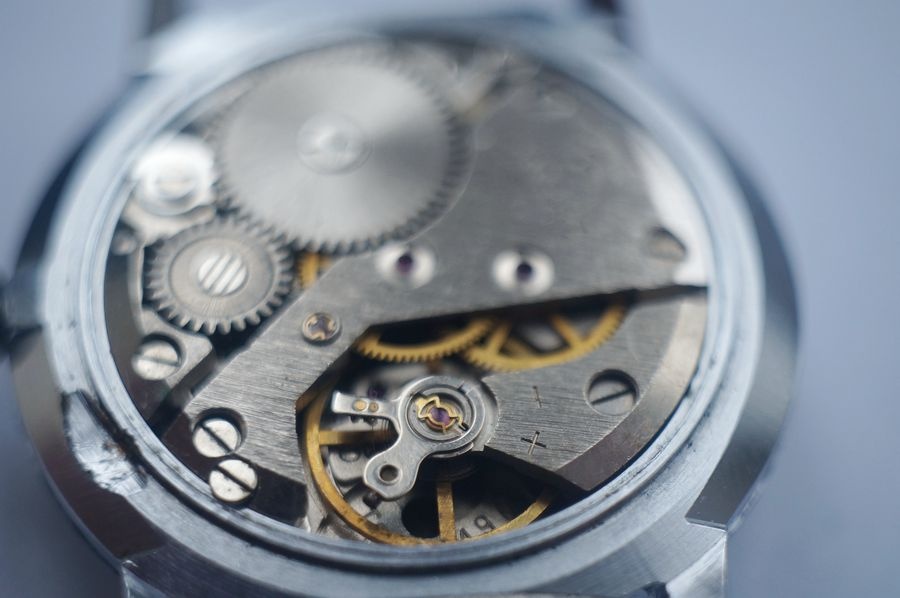
Stopped down to f/11, the zone of unsharpness evens out noticeably.
The next subject was whatever lay nearest: a lens cap, at f/2.8.

Then a portrait of sorts, of a small porcelain doll, at f/2.8.

Stopped down to f/11.

A look inside an artificial flower at f/2.8.

The same subject at f/11.

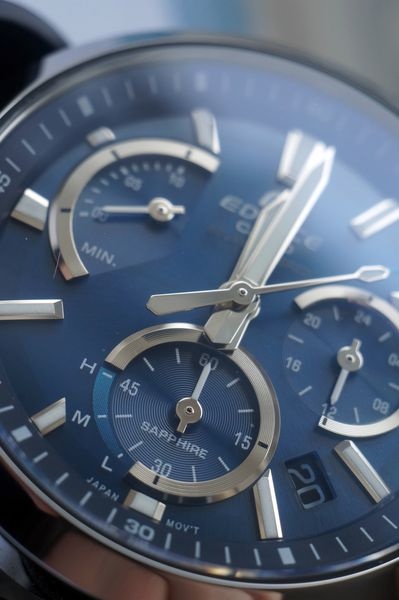
Another watch to finish. This frame was made at f/2.8.
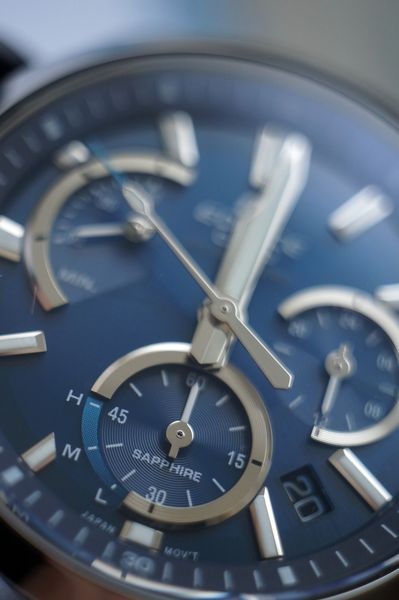
And this one at f/11.
Reproduction Ratio
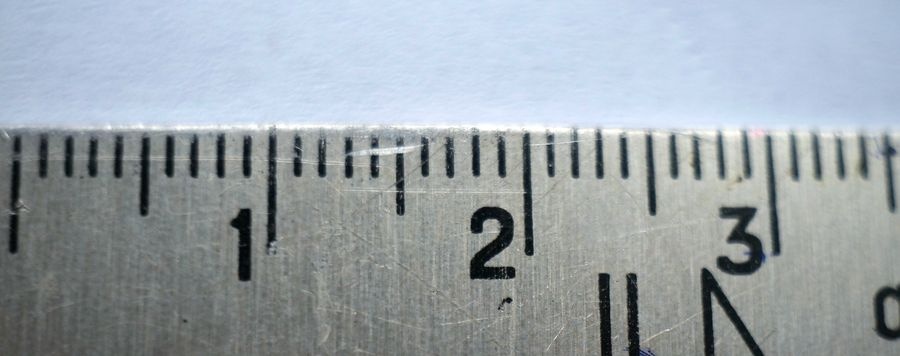
One purely technical point remains. On a camera with a 44.5 mm register, with the focusing ring set to infinity, the frame takes in 36 mm across its width. Given the physical width of the sensor, that corresponds to a reproduction ratio of roughly 1:1.5. It is simply a technical fact, but a useful one for anyone planning close-up work with this lens.
Conclusions
The image quality is good. Stopping down evens out the picture markedly, both in sharpness across the frame and in the transition into the out-of-focus zone. A landscape test was not possible this time, since no suitable camera was available. Anyone working with the Industar-69 should keep in mind that its flange focal distance is 27.5 mm, which is different from that of rangefinder cameras with the same M39 thread.
That covers everything needed to bring the lens back into full working order. How it is used from here is up to its owner.
Comments
By nemoi13 · 04/03/2021
By vanenzo · 04/03/2021 in reply to nemoi13
By Soviet Box · 04/03/2021 in reply to vanenzo
By vanenzo · 04/03/2021 in reply to Soviet Box
By TOLSTOPUZ · 04/03/2021 in reply to vanenzo
By Soviet Box · 22/03/2021 in reply to vanenzo
By JoraGn · 04/03/2021 in reply to Soviet Box
By OreSama · 04/03/2021 in reply to vanenzo
By Soviet Box · 04/03/2021 in reply to nemoi13
By Soviet Box · 04/03/2021 in reply to Soviet Box
By nemoi13 · 04/03/2021 in reply to Soviet Box
By karabas7650 · 04/03/2021
By Soviet Box · 04/03/2021 in reply to karabas7650
By Demien · 04/03/2021
By Bbarmaley · 04/03/2021 in reply to Demien
By Soviet Box · 04/03/2021 in reply to Bbarmaley
By Soviet Box · 04/03/2021 in reply to Demien
By harusame · 04/03/2021
By Soviet Box · 04/03/2021 in reply to harusame
By Professore · 04/03/2021 in reply to harusame
By asm · 04/03/2021
By Soviet Box · 04/03/2021 in reply to asm
By asm · 05/03/2021 in reply to Soviet Box
By vilgraf · 05/03/2021 in reply to Soviet Box
By Soviet Box · 06/03/2021 in reply to vilgraf
By AlexandrPetrovich · 04/03/2021
By Soviet Box · 04/03/2021 in reply to AlexandrPetrovich
By sov39 · 04/03/2021
By Soviet Box · 04/03/2021 in reply to sov39
By sov39 · 04/03/2021 in reply to Soviet Box
By ALE_X · 04/03/2021
By ALE_X · 04/03/2021 in reply to ALE_X
By Soviet Box · 04/03/2021 in reply to ALE_X
By ALE_X · 04/03/2021 in reply to Soviet Box
By Professore · 04/03/2021 in reply to ALE_X
By ALE_X · 04/03/2021 in reply to Soviet Box
By yoma · 04/03/2021 in reply to ALE_X
By Professore · 05/03/2021 in reply to yoma
By Aleksey_Rem · 04/03/2021
By Soviet Box · 04/03/2021 in reply to Aleksey_Rem
By Mishakov · 04/03/2021
By Maxim_Sed · 04/03/2021 in reply to Mishakov
By OreSama · 04/03/2021 in reply to Maxim_Sed
By TOLSTOPUZ · 04/03/2021 in reply to Maxim_Sed
By ezyk091978 · 04/03/2021
By Soviet Box · 04/03/2021 in reply to ezyk091978
By ezyk091978 · 04/03/2021 in reply to Soviet Box
By Soviet Box · 04/03/2021 in reply to ezyk091978
By ezyk091978 · 05/03/2021 in reply to Soviet Box
By Maxim_Sed · 05/03/2021 in reply to ezyk091978
By ezyk091978 · 05/03/2021 in reply to Maxim_Sed
By Maxim_Sed · 05/03/2021 in reply to ezyk091978
By alexrus_777 · 04/03/2021
By keydy · 04/03/2021
By Soviet Box · 04/03/2021 in reply to keydy
By Professore · 05/03/2021 in reply to keydy
By kamic · 05/03/2021
By Soviet Box · 05/03/2021 in reply to kamic
By Fire_bird · 06/03/2021 in reply to kamic
By vilgraf · 05/03/2021
By Soviet Box · 06/03/2021 in reply to vilgraf
By kuvalda · 10/03/2021
By Soviet Box · 11/11/2023 in reply to kuvalda
Write a comment